















Get help and share feedback in our global community.
Recently active
Animated text flickers when exported. I am using Adobe After Effects (Beta) version 26.3I have 7 different text layers appearing in this animation, when I export it the text that is on the top of the screen flicker. I am exporting these and uploading the export to a Premiere Pro project and that’s where I first noticed the flicker. I tried exporting it in .mov and h.264 but both of those are giving me the same result. And when I open the export outside of Premiere Pro I still see the word flickering. At first the word that was flickering was the “HOME”, but once I exported a couple different times not changing anything about the export settings, then the word “HOME” stopped flickering and the word “THE” started to flicker. Now I can’t export without one of those words flickering. I’ve added a link for reference: Also just wanted to mention this isn’t the first time I have this issue. I’ve had this issue in different projects that had a text layer involved. In past projects the first ex
Added a master property control to the a threshold effect Level Value.Did not work at all with the project in 16 bit. Values were all over the place.Kind of works with the project in 32 bit, but the slider doesn’t work properly, neither does entering values manually.See attached video to see the janky behavior.
I want to make it appear as if water is spraying from an open hole on the top of a container. I found a video of spraying water and placed it above where the hole is located. I created a mask to limit the part of the video that displays of the water, and I changed the blending mode to lighten to remove the background so only the spraying water displays. the base of the water where it is starts small and turns into the giant spray is too wide. I want to transform the base of the spray to make it seem like it is smaller and actually coming out of the opening on the container. I tried applying a transform effect to it and I played with skew but that doesn’t seem to get me what I need. How is this done?Thanks in advance
I animated a .png of an item falling, and rotating as it falls until it hits the floor. After the animation ended, I moved the CTI a few frames ahead and rotated it a bit to add a new keyframe, and moved the CTI again and rotated it again to make it seem more like a bounce when it hit the ground. I want to make the bounce seem a bit more natural. I spent some time online and I read about Expressions, and I copied some Bounce Expression that I found, and I want to paste it so I press alt and clicked on the Stopwatch for Rotation to paste the Expression since this is the last thing that I added to the animation. The Expression editor opens withtransform.rotationWhen I paste the following Bounce Expression after this it just gives me an error. “This project contans an expression error: error 1 of 1. What am I doing wrong? Thanks in advance! e = .5;g = 20000;nMax = 9;n = 0;if (numKeys > 0){n = nearestKey(time).index;if (key(n).time > time) n–;}if (n > 0){t = time – key(n).time;v
As mentioned, my After Effects starts to slow down over time if a project has been open for a while, not matter if it’s heavy or as simple as just trimming a video. I notice the timeline doesn’t move smoothly anymore and if I right click anywhere or open any window within the program, it simply freezes for at least 10 seconds or more.My only fix so far has been to save the project when I notice the stutter and simply close and open again, but as you can imagine, it’s very frustrating and slows down my workflow by a lot, despite having a good build.My PC build:Windows 11 ProRyzen 9 9950x3DRTX 3090 FE64GB RAM DDR5 6000 CL30Everything is up to date with their latest drivers, I tried both using a separate SSD dedicated just for AE’s cache and not. Was told to try switching the layout from standard to something else, didn’t work.Was also told that the Character tab seemed to cause this issue, didn’t seem to fix it by removing it. As mentioned this happens whether the project is heavy or eve
Hello all,I opted for the 1 week free subscription of After Effects, and I was charged a full month upon purchase. I had money deducted from my account. I checked and learned that it might be possible as in that I will get refunded when I cancel the membership. I did not cancel the membership as I intend to continuing using it. I was charged again when the week trial ended.
Hello, I would like to install the 2022 version of After Effects but I can't find it between the older version option. I can only install the 2024 and 2023 versions in the Creative Cloud app. Can you please help me install the 2022 version? Is this still possible? What are my other options if you can't install it using CC apps? Thanks for the help.I need it for creating AET templates.
In this After Effects tutorial, I'm diving into the legendary slitscan effect. While Doug Trumbull used a massive mechnical righ and long-exposure photography to create the "Ultimate Trip", I'll show you how to build the same look much more easily using Essential Graphics, the Offset effect and 3D layers.In this video, I cover: How to use the Offset effect with a simple expression for continuous motion. How to use Essential Graphics to control the speed and images 3D layers to create two infinite plains.
In Windows in two places it shows apps. If you want increase font size which is more effective to Ae?
Hello Adobe Community !I’ve been working with After Effects for years, and like many of you, I’ve had to constantly upgrade my hardware just to maintain a normal level of productivity—without seeing any significant improvements (though a more powerful processor and graphics card do really help me work normally).But in recent months, I’ve had to revert to the computing habits of the 2000s, using heavy 3D software, because After Effects—despite a complete reinstallation of Windows 11 Pro less than a year ago, the installation of a high-performance NVMe SSD (Samsung 990 Pro), major operating system updates, and the precaution of working on version 24x, the most stable version I’ve ever had, significantly slows down my entire machine after 2 to 3 hours of work.After that time, I have to shut it down via the Task Manager to restore my PC’s usual fluidity; otherwise, everything becomes slow, laggy, and impossible to use.The mouse freezes or becomes extremely slow; every movement, every edit,
I have some simple keyframing for a shape that scales up and I want to simply select the keyframes, copy them, paste them, and reverse them so that after it scales up, it reverses by scaling back down. After pasting the keyframes on the same layer I realize that it automatically scales it back down.When pasting the keyframes should they be placed on the same layer, or on a blank layer or does it not matter? Is this an ok way to achieve the simple effect that I wanted, or should I be doing this some other way, and right clicking on the keyframes to reverse it?Thanks
How to distinguish deference between Ram up & Ramp Down here? In the real word if you start from lower point it is ramp up & if you start from higher point it is ramp down.
Current Spec: 64GB DDR4, NVIDIA GeForce RTX 3060, AMD Ryzen 9 5900X, set my disk cache at 115GB on 3400MB/s read speed, about 5000MB/s write speed, set ram reserved for other app to 6GB, paid application, enable multiframe renderingSomething likes this took me like 1 min to play back, its literally just basic 3d rotation and positioning keyframe, no crazy plugin or effectTried switching the codec for the video on another comp but it doesnt help muchI can add some other settings/info if needed
hello,i have after effects 2024,and when i preview my video or photo,the preview gets very slow,and a red warning appears in my preview pannel saying that my preview is not in real time.i think this has a connection with the green line,because when i preview,a lot of empty spaces appear on it.this issue happens with all of my projects.already tried to change the resolution,allocate more RAM to ae,cleaning cache,and nothing works.i ask for solutions please.
Currently, After Effects supports EXR rendering, but it does not offer a straightforward multi-pass option within the same EXR file. In our workflow, we often require multiple passes—for example, a chroma pass with a background version and a separate black-and-white matte (alpha) pass. Currently, we have to render these separately and provide them individually to clients. If After Effects could support multi-pass EXR rendering—where multiple passes (like beauty, alpha, etc.) are embedded into a single EXR—it would save significant time. Not only would it streamline the delivery process, but it would also reduce the overall render time—especially for 4K work.Adding this feature would not only enhance efficiency in my own projects, but I’m confident that many other professionals facing similar challenges would benefit as well. I hope the Adobe team can consider this in future updates.Thank you for your time and consideration.
How could I switch hands without losing the animation I did with the first hand already?
How can I increase the size of the items within the panels without having to increase the aspect ratio of my Mac’s enteral monitor?
I am going to import several .png files that I will keyframe for a 20 second long video for Youtube. There will be no actual video footage included in the Composition. Since there is no video footage included, and the composition is only going to be 20 seconds, should I choose 60fps to get smoother motion? I know that more fps results in larger files and longer rendering, though this will only be 20 seconds. Are there other downsides to choosing 60 fps? With video footage I prefer the 24fps look, though does choosing 24fps even replicate that same cinematic style when keyframing graphics in AE? I did a couple of tests with 24fps and 30fps and from the shorts tests I was not even clear on the difference.Thanks
Bonjour,Lorsque j’essaye de faire la dernière mise à jour d’After Effects 26.2.1, j’ai cette erreur :Exit Code: 127-------------------------------------- Summary -------------------------------------- - 1 fatal error(s), 15 error(s), 10 warnings(s) FATAL: Error occurred in extract of package (Name: AdobeAfterEffects26AllTrial_maxon Version: 26.2.1.2). Error code: '127' ERROR: Path:C:\adobeTemp already existsERROR: Path:C:\adobeTemp already existsERROR: Path:C:\adobeTemp already existsERROR: Path:C:\adobeTemp already existsERROR: Failed to allocate buffer for file C:\adobeTemp\ETR9E90.tmp\2\support\keyfiles\CustomHook\win\Cinema 4D Installer.exe of size 516585648ERROR: Failed memory allocation after sleep alsoERROR: Path:C:\adobeTemp already existsERROR: Failed to allocate buffer for file C:\adobeTemp\ETR9D06.tmp\2\support\keyfiles\CustomHook\win\Cinema 4D Installer.exe of size 516585648ERROR: Failed memory allocation after sleep alsoERROR: Path:C:\adobeTemp already existsERROR: Failed
The blue color in my color library is #024DA1. When I use the eyedropper to select this color from the color themes toolbar, it produces a different blue (#1C4E9B). While the colors look visually similar, they will not suffice as I must adhere to brand guidelines and use correct colors at all times.(Image left: The eyedropper is currently over the color theme blue, though it disappeared during the screenshot. As you can see the color is incorrect)(Image right: The blue color in the color theme tab is clearly correct in the system.)
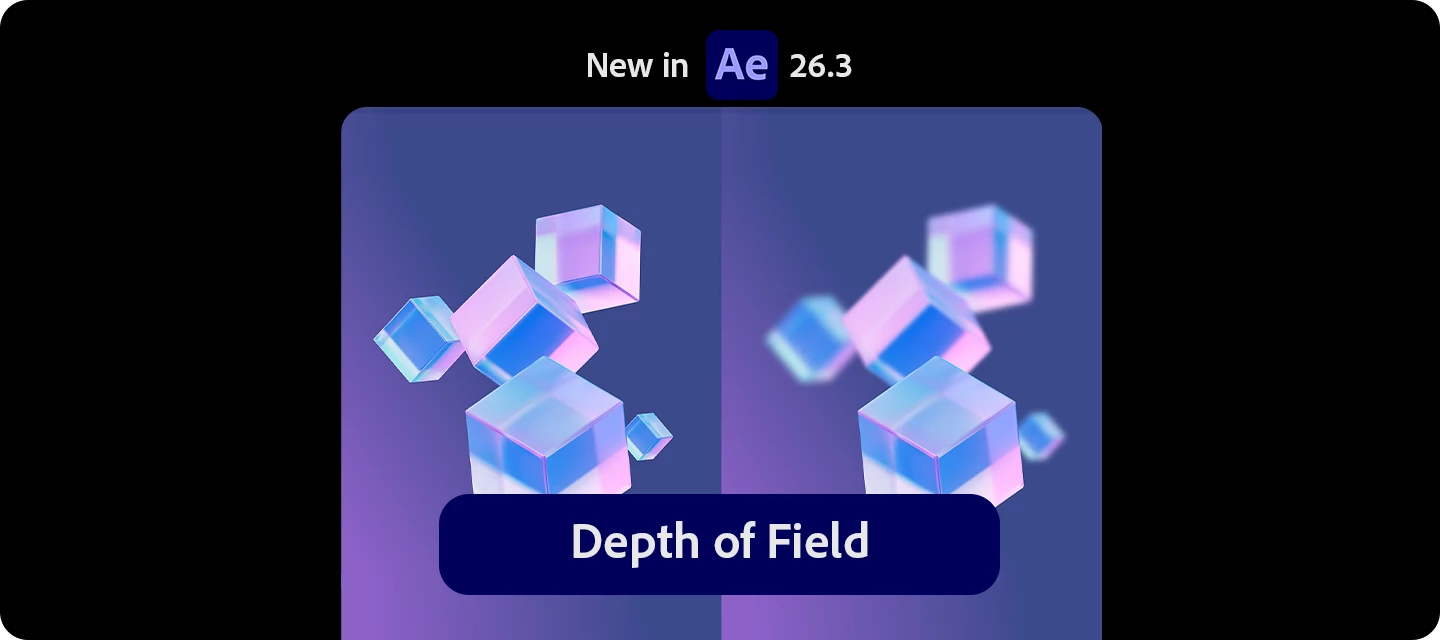
i added a basic 3D object and it switched over to Advanced 3D and then all of a sudden there was no ability to turn on DOF on the camera as you can see in the attached the only option is zoom. when i click on setting for the camera DOF is greyed out as well.
I’m wondering if it’s possible to have parametric shapes reflect each other, or if reflections are limited to lights and image-based lighting.I put together a tutorial on the new realistic reflections in the Advanced 3D renderer, but for this specific case I ended up using a workaround.
When you have a complex project with many layers. Clicking on, lets say a text layer does not make it much easy to fint. Adding the abibity for AE to jump down in layer stack and highlight the layer would be a huge time saver.Bonus wish: Clicking the “top lock icon”, should unlock locked layers or lock all layers.
The current PSD (or any layered file) importer only allows importing the entire document, or selecting a single layer from the document to import. For those of us that work with regularly updated PSDs that have many new layers added, this can be very cumbersome. My suggestion is to modify the PSD import function with the ability to check off boxes for layers to import, allowing the user to import a specific set of layers in one step.
It would be great if the asset thumbnail in the top left corner of the Project Window would be scalable, or even better draggable to any custom location and size. It's quite impossible to make out any detailed visual information from the tiny image.Below is an example of me going through a set of hundreds of generically titled images from a photo shoot, trying to find the best expressions and poses for the job:
Remix with Firefly Community Gallery
Thousands of free creations to fall in love with and remix in Firefly.
Already have an account? Login
No account yet? Create an account
Enter your E-mail address. We'll send you an e-mail with instructions to reset your password.