Copy link to clipboard
Copied
I have many bouncing balls gathered in a pre comp. I would like this pre comp to loop after approx. 10 seconds.
However, when i go to time remapping, it created two keyframes, where the last one is at the end of the clip. I have tried moving it to 10 sec. but then the bouncing balls disappear. I am very new to this so if you can help, please be specific in the description.
How can i get the second keyframe after 10 seconds so that the bouncing loops?
Ida
You first have to understand exactly how time remapping works. You must apply it to a layer that has no other animation. Your bouncing ball has to be pre-composed. If the layer you want to loop is a trimmed movie then it is also a good idea to pre-compose that footage moving all attributes so the nested comp (pre-comp) layer has a start and end. If you just apply time remapping to a 2-minute video that has been trimmed so you are only using the middle 2 seconds of the movie the time remapping ke
...Copy link to clipboard
Copied
there's no need to move the last keyframe.
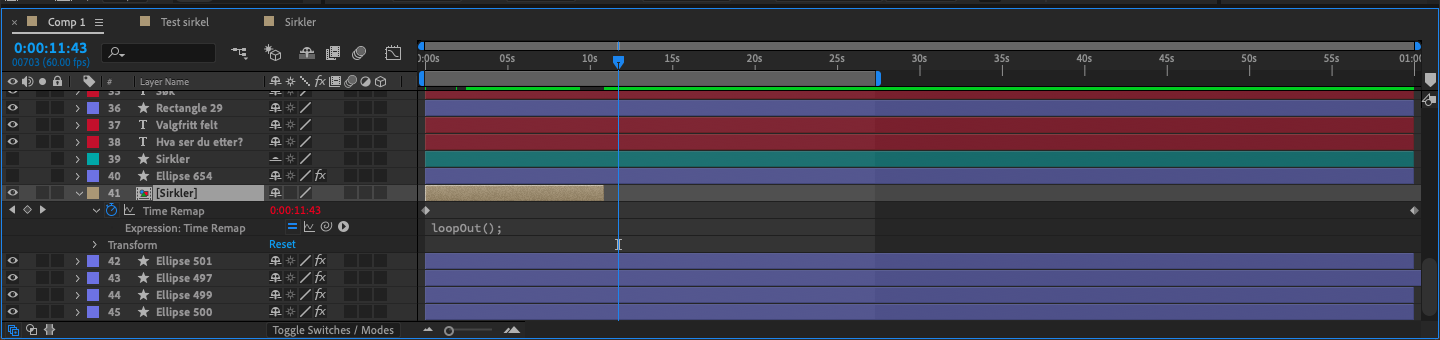
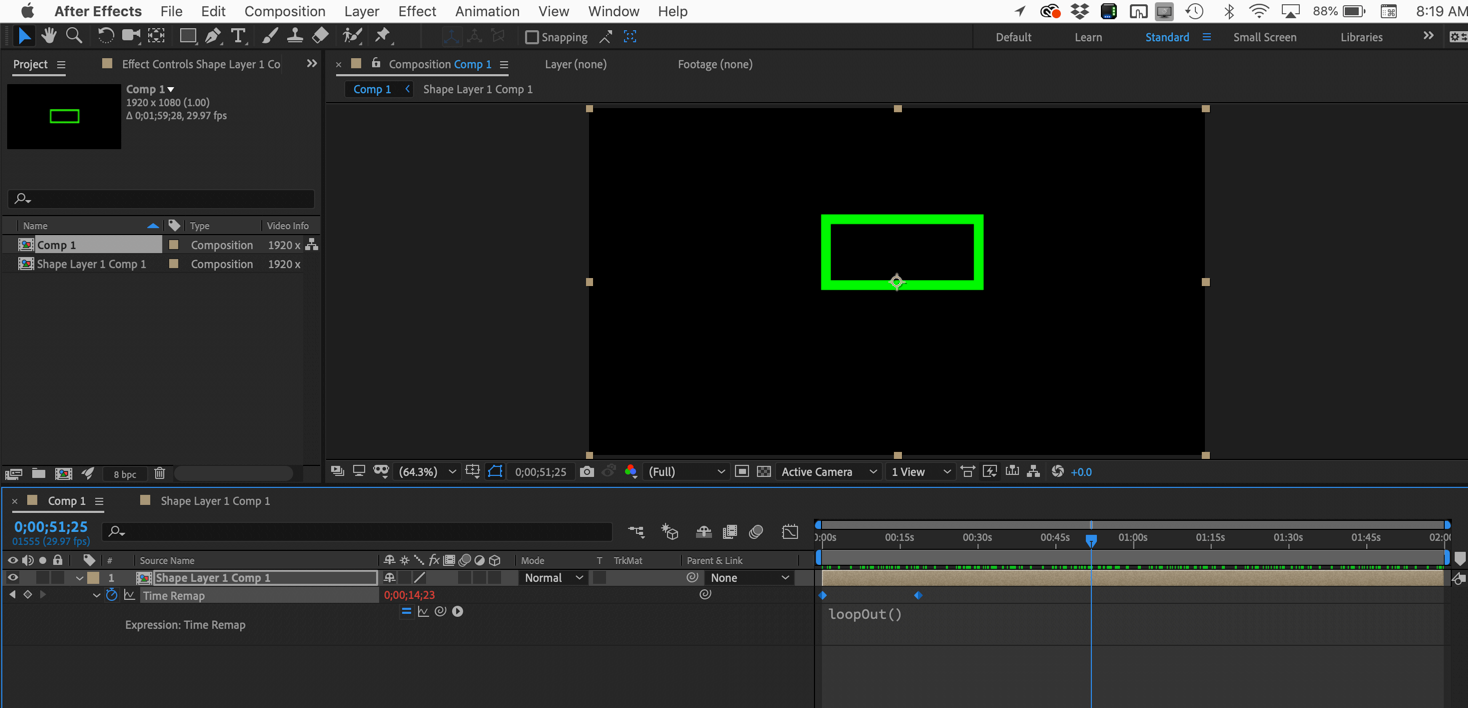
if your first frame and last frame are the same in the precomp, and you want to create a loop cycle, go one frame before the original last keyframe and create a keyframe there with the diamond switch
now delete the original last keyframe and there you have it.
if you first frame and last frame in the precomp are not the same and you want to create a repeating pattern, don't delete the original last keyframe and instead click on it twice and set it to 0.
Copy link to clipboard
Copied
I was so confused until I read your post, thank you!!
Copy link to clipboard
Copied
You first have to understand exactly how time remapping works. You must apply it to a layer that has no other animation. Your bouncing ball has to be pre-composed. If the layer you want to loop is a trimmed movie then it is also a good idea to pre-compose that footage moving all attributes so the nested comp (pre-comp) layer has a start and end. If you just apply time remapping to a 2-minute video that has been trimmed so you are only using the middle 2 seconds of the movie the time remapping keyframes will both be outside the timeline at the start and end of the clip. Here's an important point that most users miss. The Current Time Indicator and the Time Indicator in After Effects always is parked at the start of a frame, but that frame has not played yet so you can see the last frame. When you apply Time Remapping to a layer the first keyframe is set at the start of the first frame and the last keyframe is set to the end of the last frame, NOT the start of the last frame. If you use the K key to move the CTI to the last keyframe you will not see anything because the keyframe is at the end of the layer, not the beginning of the last frame. You will also want to have some room in the timeline so you can loop or extend the layer you are working on.
Here's how to apply Time Remapping to an animated layer and create a loop.
That's it. This is actually explained fairly simply in the User Guide. You can access the User Guide right inside After Effects by using the Search Help field in the top right corner of the app. Your time remapped layer would look something like this when you are done: