- Home
- After Effects
- Discussions
- Re: Editing the mask for the “write-on” effect
- Re: Editing the mask for the “write-on” effect
Editing the mask for the “write-on” effect
Copy link to clipboard
Copied
So I've created the "write-on" effect with a mask made by the pen tool with the Stroke effect applied.
However, there are parts of the stroke that I want to be thinner/thicker, so that it doesn't reveal nearby bits of text. Is there a way of editing the mask to add/remove parts of the stroke?
Hopefully that makes sense!
Copy link to clipboard
Copied
Nope. You need to put in more work and create additional masks that actually serve as cutouts and/ or the basis for additional strokes, including going so far as using multiple layers with multiple strokes that mutually mask each otehr out as track mattes or such. Pre-composing may be necessary. A screenshot of your situation may help to advise more specifically, but generally you need to get to grips with these concepts and that very few things in AE can be done directly just using one layer and an effect. Maybe find a good tuitorial and read the online help...
Mylenium
Copy link to clipboard
Copied
Hi ameliarrw,
Thanks for writing in.
As per your description, you can animate the Brush Size in the Stroke effect to control the width of the stroke. However, as Mylenium said, a screenshot would be helpful for us to understand the situation better.
Let us know.
Thanks,
Nishu
Copy link to clipboard
Copied
a better workflow in my experience is to make every single part on a separate layer and aminate each layer individually then precompose them all in one comp
Copy link to clipboard
Copied
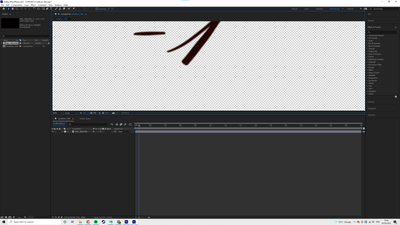
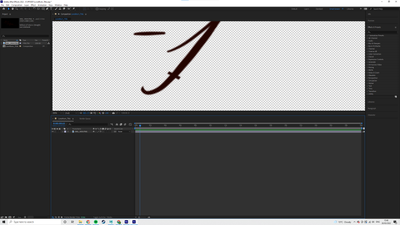
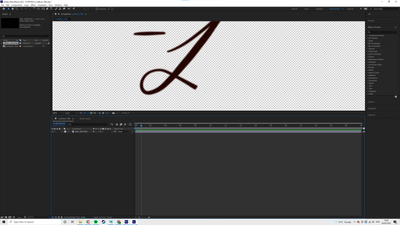
Thanks for the replies @Mohammad.Harb @nishu_kush @Mylenium - I have attached screenshots for you to better understand what I mean.
Obviously, decreasing the stroke size would result in losing the thicker parts of the letter, but currently, the mask is revealing parts of the letter which should come later. What would be the best way of tackling this?
Copy link to clipboard
Copied
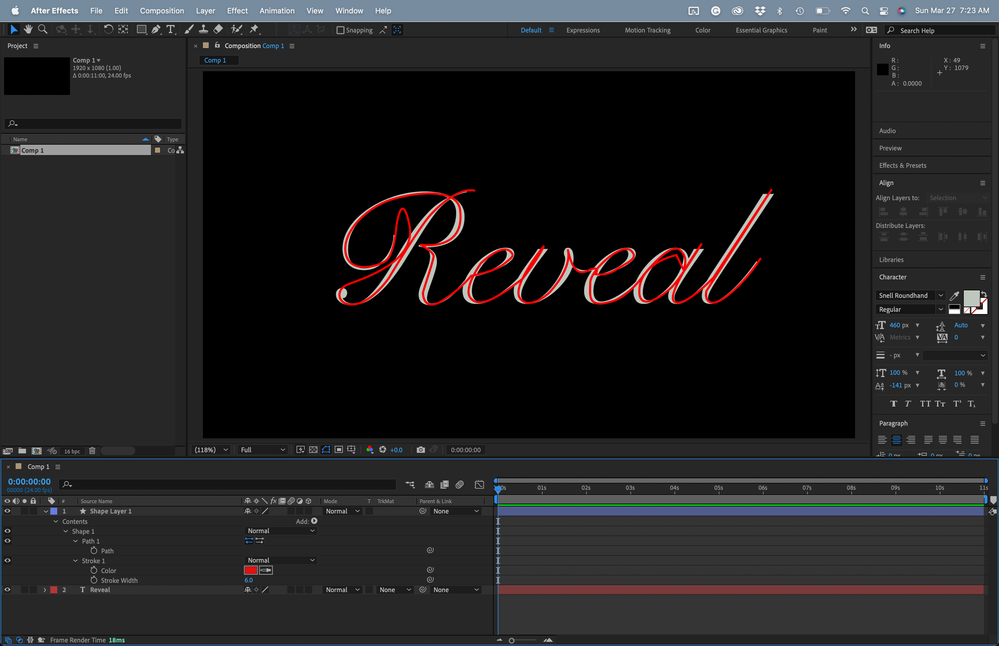
The other suggestions are pretty good. This is the workflow that I follow. I find it fairly easy to do.
- Set the type
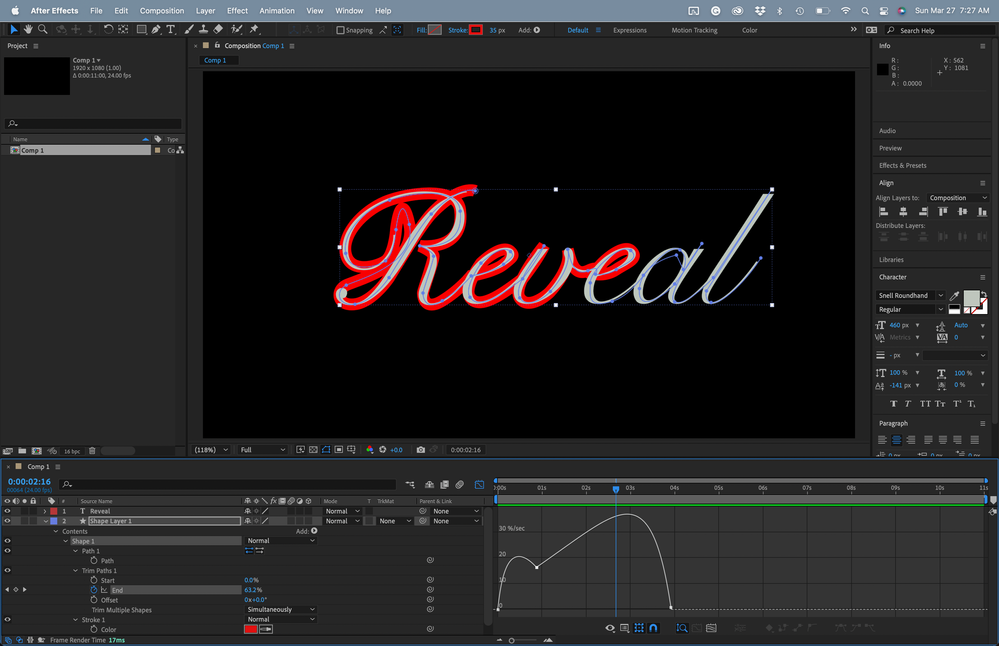
- Create a path that follows the path that a pen would take to write the word, including the part where the pen leaves the paper. The stroke should be set to just a few pixels to center the path over the text easily.
- Move the shape layer below the type layer and expand the stroke until it is wide enough to cover the entire text. Add Trim paths and set some keyframes. The Graph Editor helps with the timing.
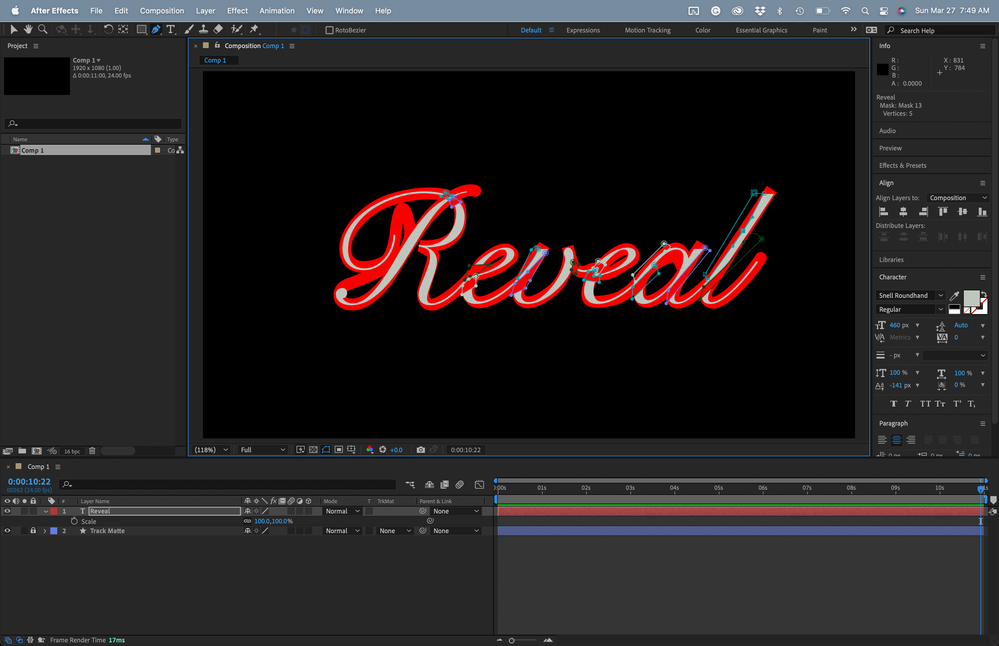
- Add masks to each problem intersection on the text layer. Just cover the problem areas and keep the masks tight. If you click on the last point you created and press the 's' key, the mask will change to subtract.
- Move the track matte layer above the type layer and set it as an Alpha Track matte, then lock the layer. With the track matte layer locked (the shape layer) locked, animate the position and shape of the mask if necessary to reveal the type as needed. In most cases, the keyframes will only be one frame apart.
- Pre-compose the Track Matte and the text layer and enable time remapping to fine-tune the timing of the reveal.
I have created this kind of animation many many times, and this workflow is the fastest and easiest I have found. This project only took me about 15 minutes. You can download it here.
If you don't have the font you can find it here.
Find more inspiration, events, and resources on the new Adobe Community
Explore Now


