• Global community
    • Language:
      • Deutsch
      • English
      • Español
      • Français
      • Português
  • 日本語コミュニティ
    Dedicated community for Japanese speakers
  • 한국 커뮤니티
    Dedicated community for Korean speakers
Exit
0

Shape Layer Disappearing in AE when converting to 3D Layer

Guest
Nov 28, 2017 Nov 28, 2017

Copy link to clipboard

Copied

Hey Guys and Girls, first time one here, I've spent a few hours looking around online for a guide or anything to help out and I'm a bit lost and don't seem to have found the solution to my problem as of yet! I'm also fairly new to all of this so probably trying to do something well out of my ability at the moment

The issue:

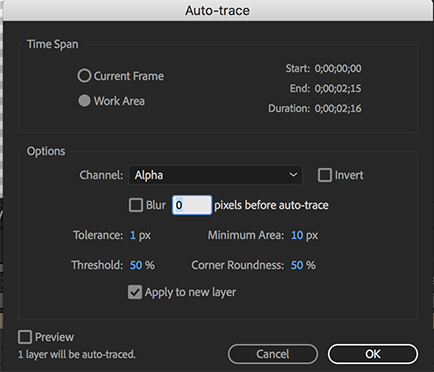
I vectorize a design (a half curve) in Illustrator

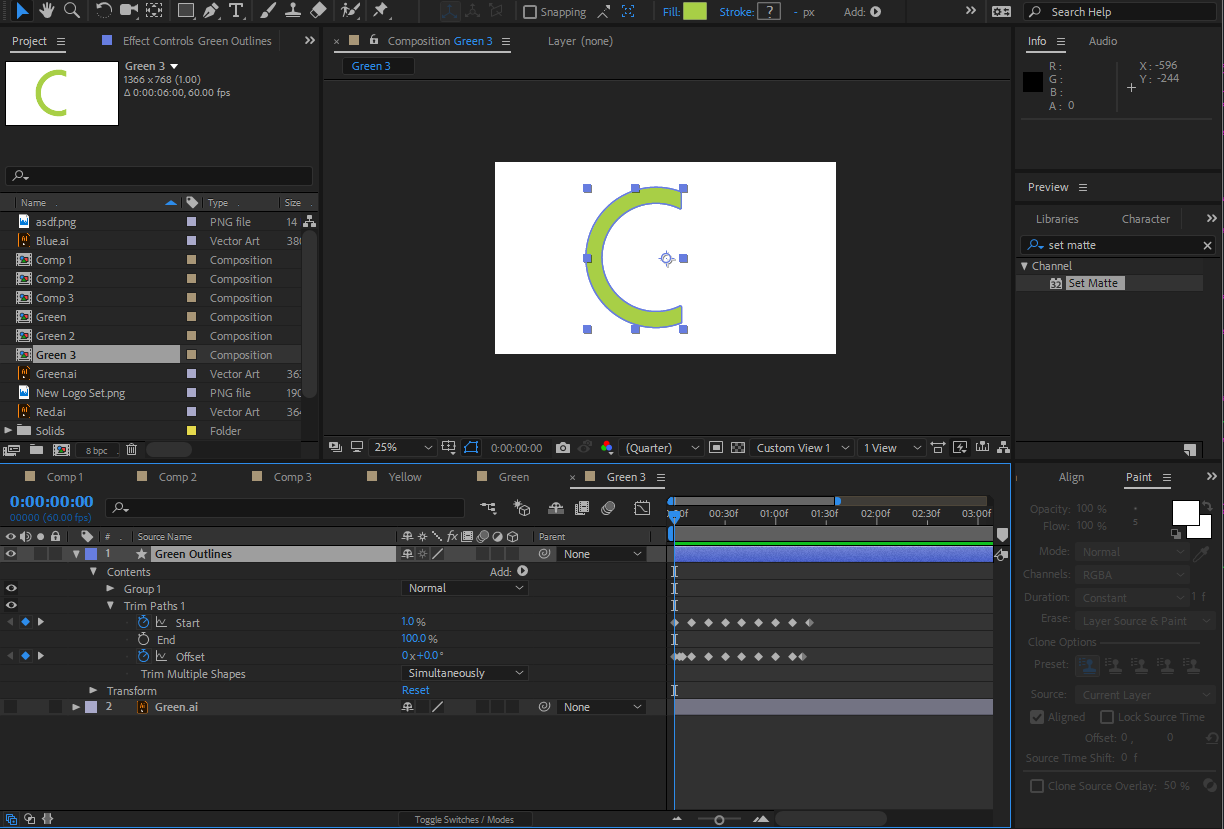
I import design into AE like so:

Step 1.PNG

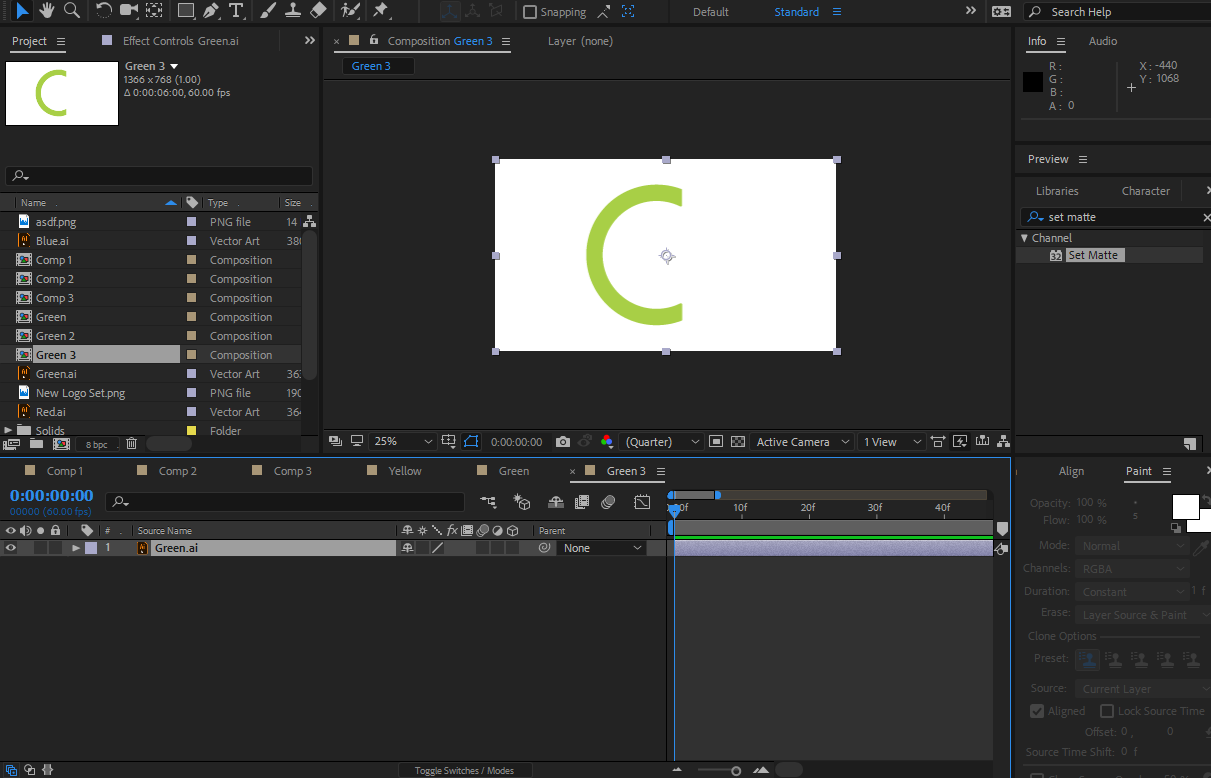
I add design to Composition, and right click on the new layer and click Create Shapes from Vector Layer

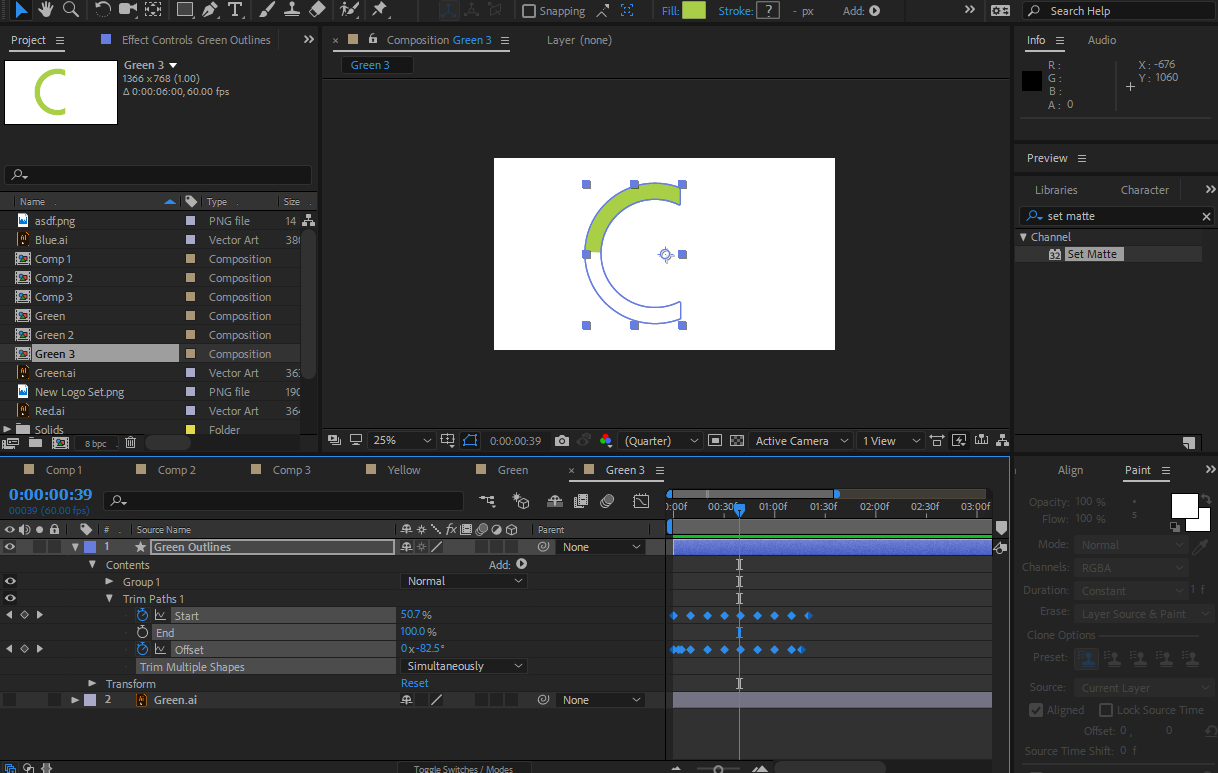
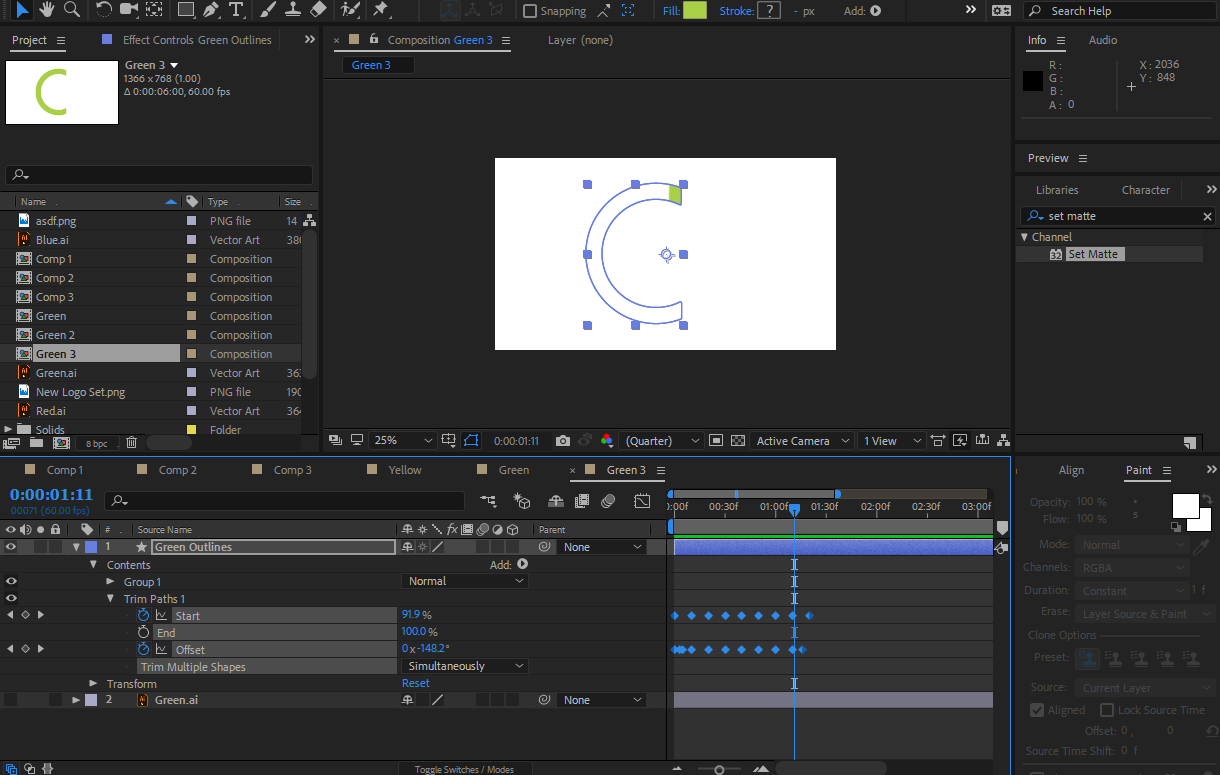
After doing this, I set a trim path, adjust it all so it's doing the animation I require and check it's all working ok, which it is:

Step 3.PNG

Step 4.PNG

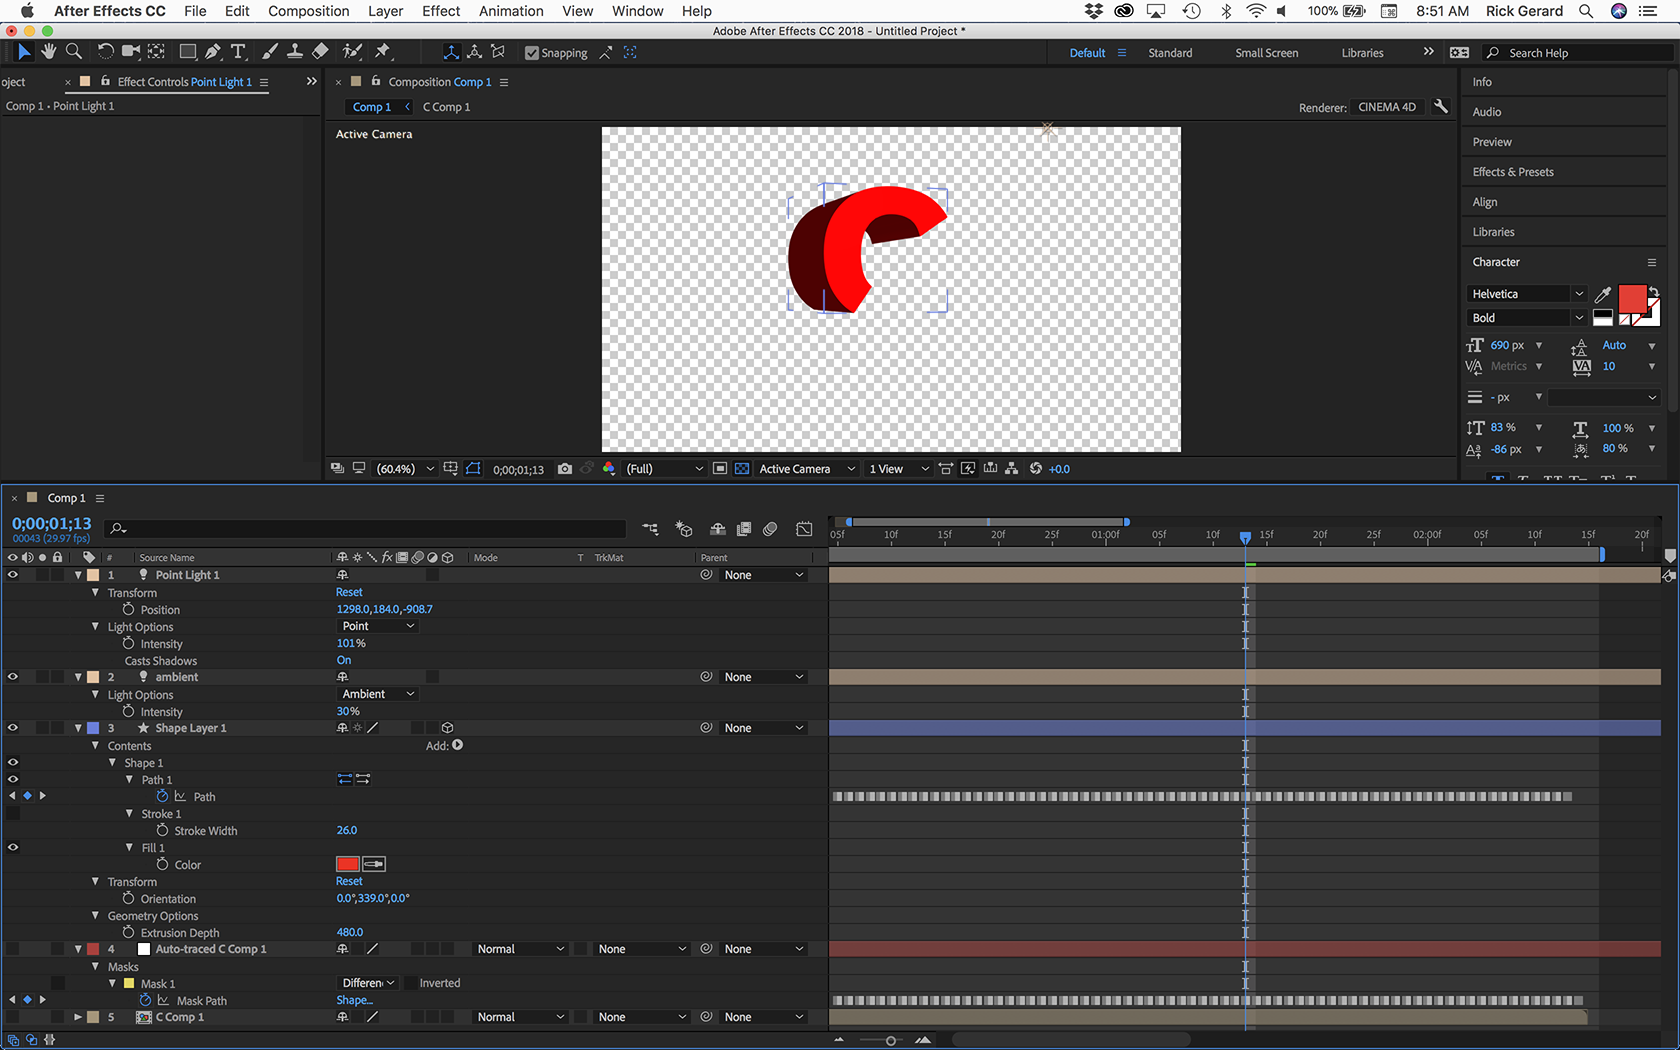
The issue arises when I then right click on it and go to select 3D Layer - the shape disappears all together and I'm left with just blank space.

Step 5.PNG

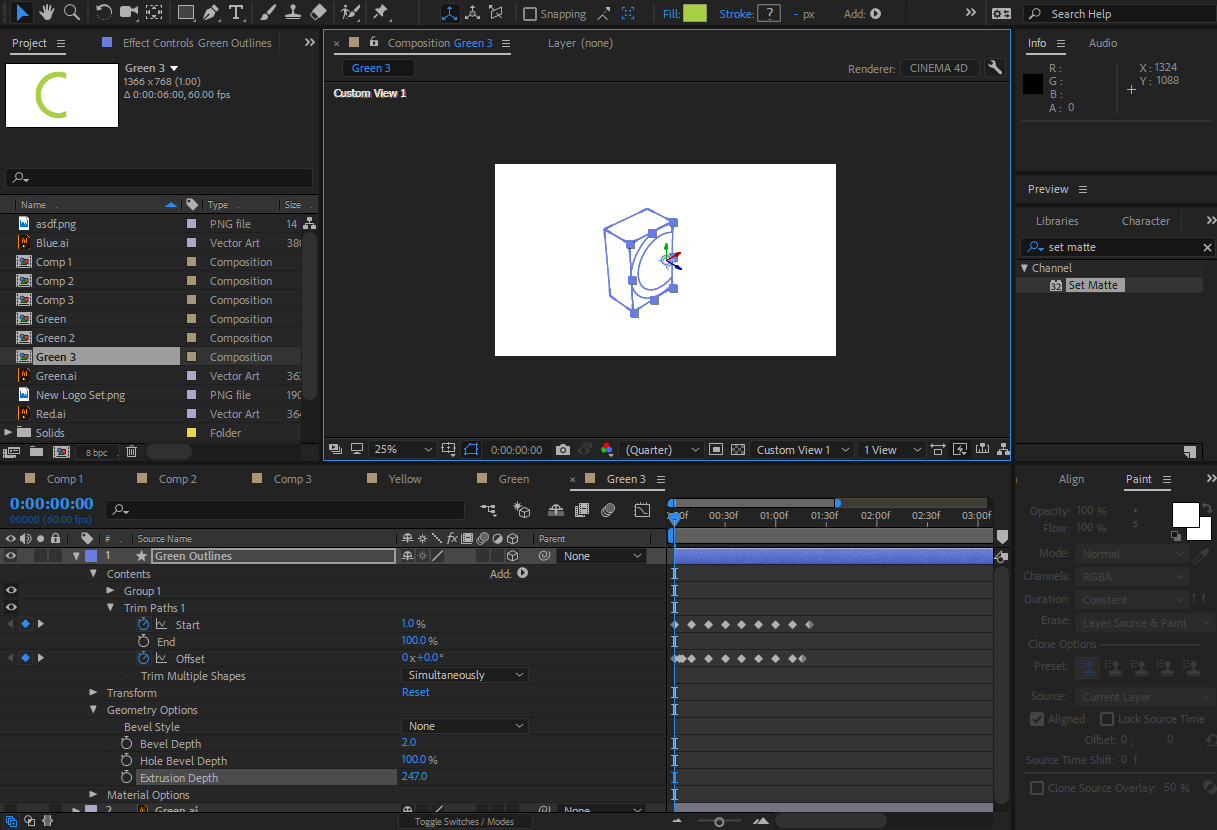
Now, when I delete the trim path the 3D shape appears, and when I undo that action the shape disappears again.

Also, when I go back to 2D (remove the 3d selection from the box beside the layer name) it appears again like this:

Step 6.PNG

Any help will be so greatly appreciated! Thanks

Views

7.7K

Translate

Translate

Report

Report
Community guidelines
Be kind and respectful, give credit to the original source of content, and search for duplicates before posting. Learn more
community guidelines

correct answers 1 Correct answer

Community Expert , Nov 29, 2017 Nov 29, 2017

The problem is Trim Paths. Delete that and your extrusion should show up. Trim Paths is essentially an animated alpha matte and that is not supported with the C4D or the Ray-traced rendering engine.

The right way to do this kind of animation would be to animate the path. That will work. It is going to be difficult to do that kind of animation by hand. My suggestion would be to apply Radial Wipe to you Illustrator layer and adjust the timing and angle, pre-compose moving all attributes to the new

...

Votes

Translate

Translate
Community Expert ,
Nov 28, 2017 Nov 28, 2017

Copy link to clipboard

Copied

Hmmn...Have you tried changing the 3D renderer to Ray Traced to see if you have the same problem?

Votes

Translate

Translate

Report

Report
Community guidelines
Be kind and respectful, give credit to the original source of content, and search for duplicates before posting. Learn more
community guidelines
Guest
Nov 28, 2017 Nov 28, 2017

Copy link to clipboard

Copied

Hi Rob, Thanks for that suggestion. I have tried and it tells me "Initial shader compile failed" and "Cannot create context for ray tracer" and then tells me i'm out of paged mapped memory!

To eliminate an issue with the previous composition, or memory issues, I started an entire document fresh after a PC shutdown/turn on again and still got the messages above.

Votes

Translate

Translate

Report

Report
Community guidelines
Be kind and respectful, give credit to the original source of content, and search for duplicates before posting. Learn more
community guidelines
Advocate ,
Nov 28, 2017 Nov 28, 2017

Copy link to clipboard

Copied

I thought "ray traced" died a horrible death a few years ago because it would only work with one specific architecture of one manufacturer's video cards which were overpriced and did everything else poorly. 

Votes

Translate

Translate

Report

Report
Community guidelines
Be kind and respectful, give credit to the original source of content, and search for duplicates before posting. Learn more
community guidelines
Community Expert ,
Nov 29, 2017 Nov 29, 2017

Copy link to clipboard

Copied

LATEST

The problem is Trim Paths. Delete that and your extrusion should show up. Trim Paths is essentially an animated alpha matte and that is not supported with the C4D or the Ray-traced rendering engine.

The right way to do this kind of animation would be to animate the path. That will work. It is going to be difficult to do that kind of animation by hand. My suggestion would be to apply Radial Wipe to you Illustrator layer and adjust the timing and angle, pre-compose moving all attributes to the new layer, then use Layer>Auto Trace and select the Alpha Channel as the source and work area for the duration.

Screen Shot 2017-11-29 at 8.55.25 AM.png

This should give you a pretty good animated path. The next step is to press the U key to reveal all of the keyframes that were created for the mask path. Select Mask Path to select all keyframes and copy them (Ctrl/Cmnd + c). Now start a new shape layer using the pen tool and add a single point anywhere in the composition panel and Paste (Ctrl/Cmnd + v). Then convert the shape layer to 3D, and set your extrusion using the C4D rendering engine. Adding some Ambient Light and a point, directional or spot light to your comp will give it some depth. Your comp would look something like this:

Screen Shot 2017-11-29 at 8.51.37 AM.png

I have View Transparency grid turned on. That's what the checkerboard background is.

Extrusion.gif

An even better option would be to create the entire extrusion and animation using C4D lite and Cineware. You'll get a better result, be able to use depth of field and apply effects and end up with a better product. After the learning curve it will also probably take less time and you will have a new skill.

I also see that you have set the composition background to white. In most cases and with most formats setting the background color will not produce a colored background. If you want a colored background you have to add something with pixels to the background like a solid or a comp sized shape layer or a movie or an image. This happens because the background color of a comp does not fill the alpha channel and transparency, with most formats, shows up as a black background when the video is played in a media player. If you render with an alpha channel and have set the background color to white and you choose Premultiplied as the color rendering option your edges will have slightly lighter colors than if you render with Straight alpha.

Votes

Translate

Translate

Report

Report
Community guidelines
Be kind and respectful, give credit to the original source of content, and search for duplicates before posting. Learn more
community guidelines