Copy link to clipboard
Copied
Hello
In the film there is a two minute section where the woman is bending down that shows the bald area. Is there a method to fill in the area so that subject appears less then suffering from hair loss? In Photoshop I could use the clone tool. Don't know the method in Premiere Pro CS6. Let me know the method where I could add texture to that bald area to improve the visuals of the film.
Thank!
 1 Correct answer
Mocha AE is included in CS6. The workflow is slightly different, but everything I show in the latest tutorial on the workflow is available in Mocha AE for CS6. Here's a tutorial with that workflow from long ago.
You may have to do some track adjustment by hand, but stabilizing the top of the head will work exactly the same as stabilizing the TV screen in this shot.
I took the sample shot, tracked it like this:
Applied corner pin / cc-power pin to a copy of the footage, pre-composed, duplica
...Copy link to clipboard
Copied
Can you post a screengrab of the problem shot? It's hard to give you an educated response without seeing the problem.
You may simply be able to darken the problem area.
You may be able to use the clone stamp tool in After Effects.
You may have to motion track a clump of hair onto the subject.
Copy link to clipboard
Copied
Copy link to clipboard
Copied
I would mask, it, track the mask and use content aware fill. I think that you'll get good results.
Copy link to clipboard
Copied
I don't think Content-Aware fill would do a good job because there is not enough hair around the thin spots to generate a decent fill.
My approach would be to use what I call the stabilized power pin method for compositing. You will end up with a motion stabilized comp where the top of the head does not move and is enlarged. You can then use cloning, make Photoshop files from a few frames to create the fill, and then when you are done, you can put the motion back into the stabilized and enlarged (zoomed in) repair comp and it should look pretty good. Here's a tutorial that shows how to motion stabilize a bench and then add graffiti to the bench and create some masks. With a little imagination, you can probably figure out how to stabilize the top of the woman's head and create the repair.
I have used this technique to remove tattoos from an actor's neck in a feature film produced in Australia. Here is the original thread on that workflow. Maybe it will help:
Copy link to clipboard
Copied
Thanks for the comments and the tutorial. I will work with the tutorial's instructions to see if I can make the correction.
Very helpful!
Copy link to clipboard
Copied
The obstacle I think is using the plug-in Mocha AE and working with the current edition of Adobe After Effects?
My resources are limited thus the dependence on Adobe CS6 Master Collection.
I'll remain hopeful thinking I may be able to eventually do this, fix the loss of hair.
Copy link to clipboard
Copied
Mocha AE is included in CS6. The workflow is slightly different, but everything I show in the latest tutorial on the workflow is available in Mocha AE for CS6. Here's a tutorial with that workflow from long ago.
You may have to do some track adjustment by hand, but stabilizing the top of the head will work exactly the same as stabilizing the TV screen in this shot.
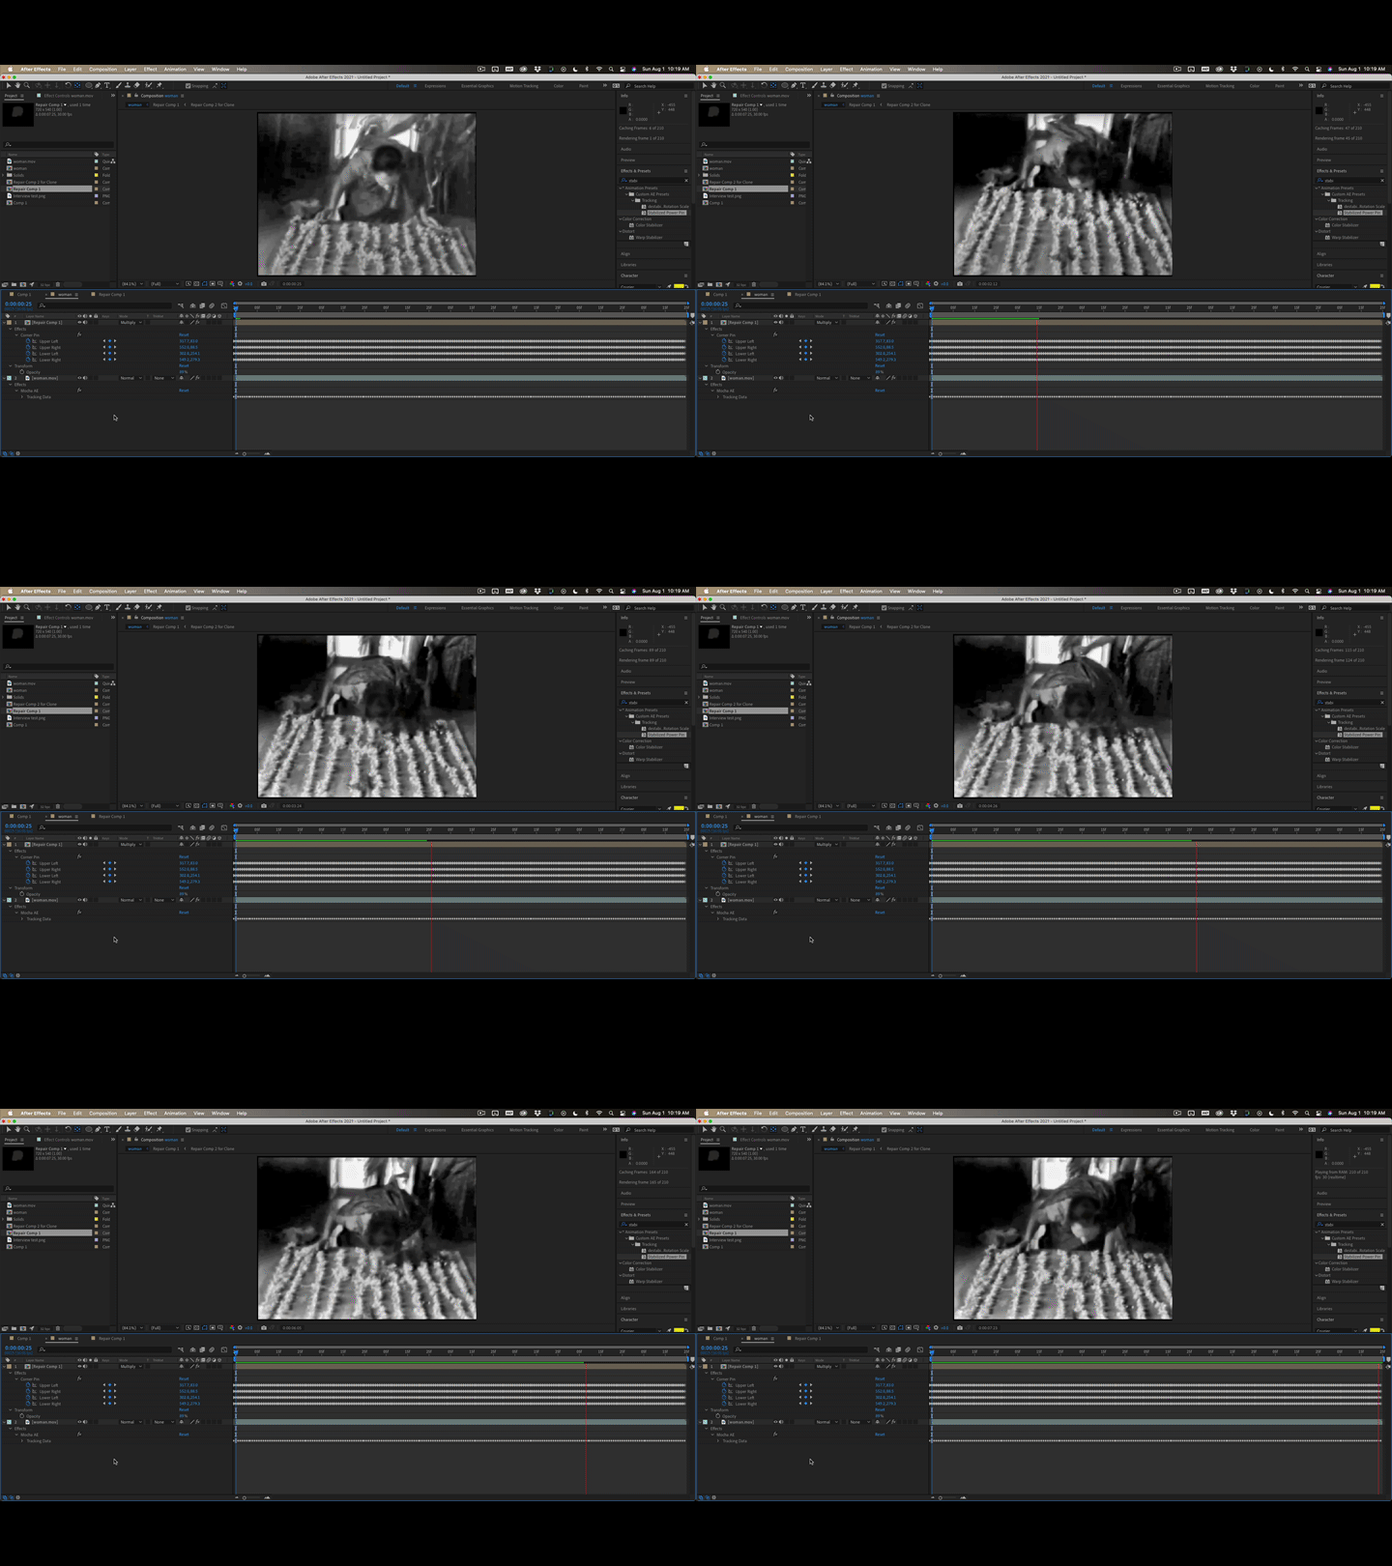
I took the sample shot, tracked it like this:
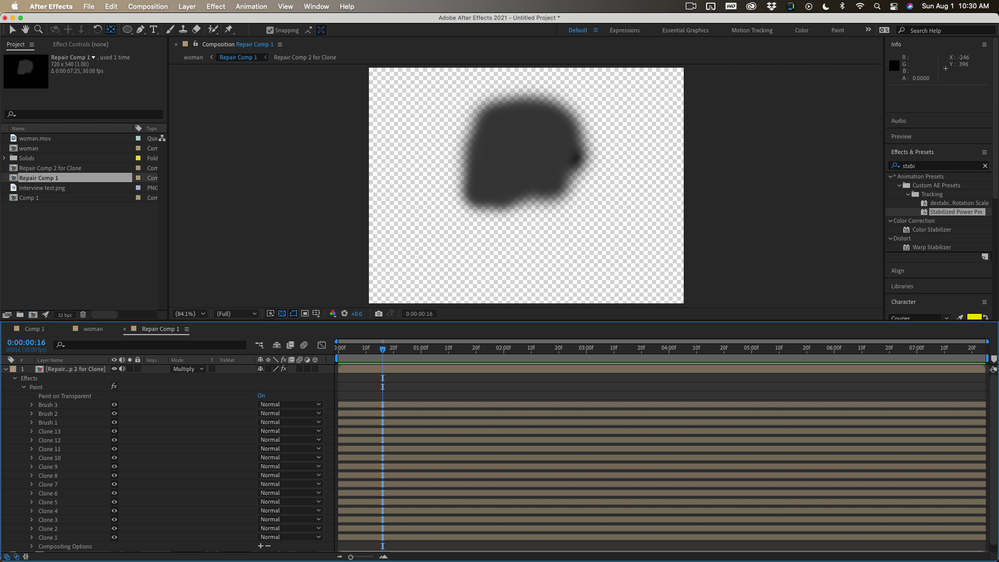
Applied corner pin / cc-power pin to a copy of the footage, pre-composed, duplicated the layer, and uses clone and paint on transparent to generate this (and it doesn't move):
Then returned to the main comp and added the corner pin to the repair to get this by using the multiply blend mode and reducing the opacity. Took me all of 10 or 15 minutes.
Nothing I did can't be done in CS6 if you follow the workflow in the tutorial.
Copy link to clipboard
Copied
Thank you sir. This is good news.
Copy link to clipboard
Copied
Thanks for all the great info it got me where I needed to go.
I ended up just tracking the balding space on his head and duplicated the layer. Played with HLS secondary to darken the skin tones and dropped the shadows/blacks and exposure a bit til it looked nice. Feathering the mask and playing with mask expansion was super helpful in dialing it in as well.


