Apr 8, 2026
パートナーの皆様:サンプルプラグインで新しいUXP APIが利用可能になりました!
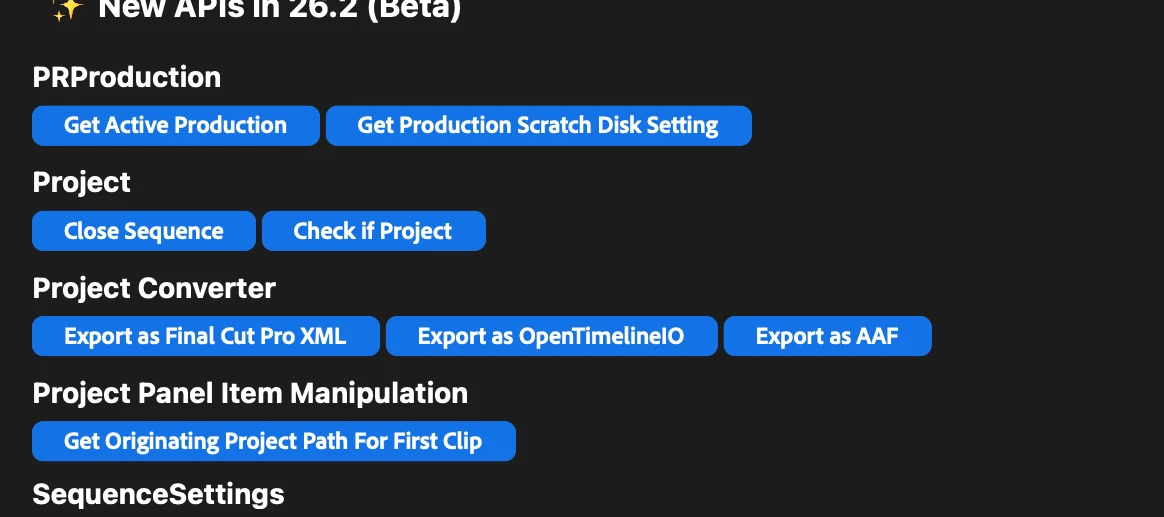
この記事は Partners: New UXP APIs available in sample plugin! @Bruce Bullis の翻訳です。 Premiereの連携パートナーの皆様、こんにちは!「premiere-api」サンプルプラグインに多数の新しいAPIを追加しました。ドキュメントの更新も近日中に公開予定です。これらのAPIは、現在のベータ版ビルドおよび次回の公式リリースで利用可能です。技術的なご質問は、Premiere UXP開発者フォーラムまでお寄せください。これらのAPIが皆様のお役に立てば幸いです。今後もAPIの拡充を予定しています! Adobe製品との連携機能の開発、ありがとうございます。 Bruce BullisSenior Engineering ManagerPremiere Pro Integrationbbb@adobe.com