

























Get help and share feedback in our global community.
Recently active
I wanted to animate the back fingers with puppet tool but these what lines appear when they make the movement. I tried the vector shapes from illustrator and also redrawn in after effects but can not get rid of the white lines. Any help is highly appreciated!
CC Ball Action with displacement is great! What's not great is that I want to displace based on a different layer. I'm using Depth Scanner to get a depth matte, which works great with CC Ball Action's displacement. But without being able to point it to a second layer, I can't use a depth pass AND see my original image's colors.
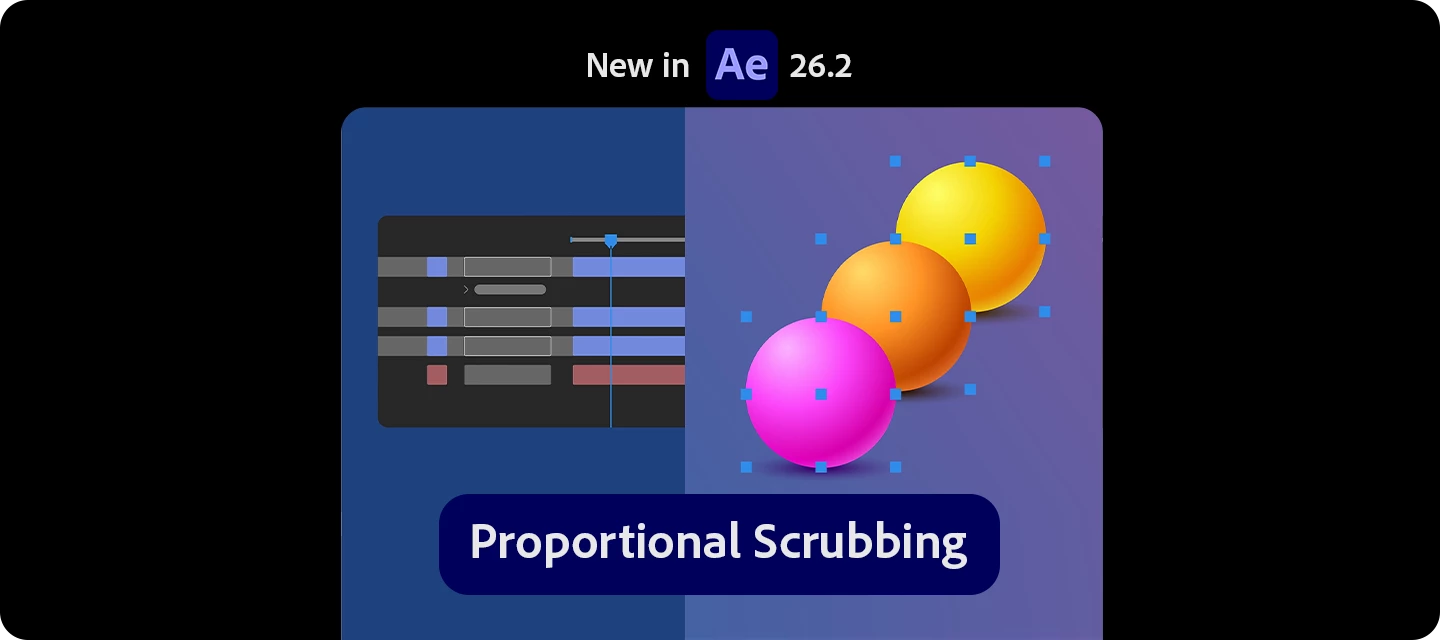
Already using Substance 3D materials in After Effects?Now you can take them even further - with built-in displacement support, allowing your surfaces to have real depth, not just texture. What can you do with it? Add true surface depth using displacement maps from Substance materials Go beyond flat textures with physically richer details Enhance realism with materials that now affect both appearance and geometry Put it to use in your workflow Create realistic surfaces (brick, fabric, terrain) Add depth to product renders Build stylized, abstract looks with exaggerated displacement How to use it (GIF) Apply an SBSAR material to your 3D layer Go to Material Properties Enable or adjust Displacement / Height settings Tweak intensity and scale based on your scene Read the full article to get started: Displacement with Substance Materials Pro tipsStart subtle—small displacement values often look more realistic Use good lighting to enhance depth and shad
Hi, I have been having an issue since updating to After Effects 26. I use Adobe Libraries to transfer vectors from Illustrator to After Effects. Since the update, 75% of the time, my paths turn into solid boxes without any individual paths when I use the Create Shapes from Vector Layer command in AE. There are no individual shape paths or anything (see attached). It happens for compound paths as well as normal paths seemingly at random.I don’t want to have to release everything to layers and import a full AI file every time I want to transfer a shape from AI to AE. This has been a real annoyance, so if anyone has suggestions, please let me know. Thanks.
The fill effect is missing in my version 26.2.1. Have you encountered the same issue? Yes, I checked the Effects Manager: none of them are disabled.
Depuis la dernière mise à jour, l’effet “Remplir” a disparu→ toutes les expressions faisant appel à cet effet reviennent en erreur… → il n’y a pas d’effet exactement identique Remettez-nous cet effet de base !!
I always struggled to figure out how the VFX team on Star Trek: The Next Generation created the warp stars effect for the series. It was in 1987, and CG was still in its infancy. When I was researching for my VFX History video on the show, I discovered that this effect was actually created by John Knoll using slit scan. And so, for my other VFX History video on that technique, I figured out how to recreate the look of the warp stars using CC Particle World, precomps and the Echo effect.
Hi all, I've been working in Rec709 color space, and just found out I need to deliver my animations as sRGB MOV files. No matter what I've tried, the output files always have Rec709 color space embedded, according to AE when I import then, AND when I view in VLC player and check out Tools > Codec Information. When I import them, they do appear darker in AE, so at least some gamma shift is happening, but again they're showing that their color space is Rec709. Methods I've tried include: obviously setting output color management to be sRGBexporting as ProRes 422HQ, Animation, and Avid DNxHD (the only allowable types for the client)trying outputting with no color managementchanging the project color space to sRGB before exportingattempting to change the color management upon import (it won't let me when project is color managed) Any ideas on how I can export videos that actually show as being sRGB? Or does it matter? They certainly look darker than the previous Rec709 r
When tracking on Mocha, the Spline usually looks fine, as it’s flexible and I can manually adjust it, which will create keyframes and is very practical. However, when I enable the Planar Surface (blue rectangle), it always seems to drift away from the Spline. Is there a way to manually adjust it?
Add an option for developers to add tooltip text help to effect property controls. This would help with discoverability of features, as well as reducing confusion when returning to an infrequently used effect, for example in a old project or a received projects. It would be particularly useful for new users to learn AE, or when dealing with a new plugin and the property labels might not be able to fully convey what effect that control will actually have. A global preference to turn tooltips on or off would be useful too, for users who do not want to see them. Perhaps a tooltip activation time could be set by the user too, so that a longer hover would be required to avoid them appearing too frequently for experienced users. Another option might be for tooltips to display in the Effects Panel, Timeline, or both. Some users might prefer to only have them show in the Effects Panel for example, but not want the extra visual density in the timeline. A next-level bonus would be to have the to
NOTE - Title should read ‘Set PER-property keyframe colours’. Typo in the title and I don’t know where to change it 🤦🏾♂️ I’d like to request to be able to set keyframe colours on a per-property basis - for example to set the X, Y and Z position properties to Red, green and blue respectively to aid identification in a busy timeline. Currently keyframe colours can be set on selections, but newly-created keyframes do not inherit from the ones that already exist. Maybe an option to either:a) right click a property and set a colour label from that property, and all keys created from that point would take on the selected colour, or b) have a preference for newly created keyframes to take the colour of the nearest keyframe of the same property. This would probably require an extra option to decide if previous or next keyframe was favoured as the colour source in case of identical spacing. I think that option a) is more straightforward to understand - users would pick a colour for a proper
I’m working in 32-bit float for a broadcast UHD job, and when I try to render final output as a ProRes QuickTime, random frames (around 1 in 50) render with colour/luma shifts. It’s completely random - I had to clear memory/cache until it rendered successfully. And for longer clips, I was able to get it to render by manually placing single-frame adjustment layers with a levels effect (not set) over the frames that had the glitches.This is a serious bug. I tried render with multiprocessing disabled, but it still happens. I can supply projects and examples showing the issues to AE engineers if needed. Anyone else having this issue?
While it does come off as lazy that a whole bunch of highly needed effects and transitions were bought rather than existing tools upgraded and new ones designed, the Film Impact toolset is still highly welcome. There is a big problem however which is interopability with After Effects. If we have the desire to finish deliverables in AE rather than Premiere it is currently impossible to transfer this data over. Please port all effects and transitions to AE. I know AE doesn't have transition functionality in the way it works in Premiere. But the way Red Giant Universe tackles it is by making effects able to select another target layer to blend the transition to and you keyframe the transition % slider. This is a perfectly acceptable solution that can be implemented. It won't copy paste from PR -> AE but you can at least manually recreate the exact same data.At the minimum I hope to at least see the effects being ported over.
When an ACES-managed project uses the “ACES/sRGB” View Transform, the Comp panel is tone-mapped correctly, but the Mercury Transmit output ignores that transform and displays the image as if “None / ACES Raw” were selected, causing noticeable contrast and gamma differences between the two monitors. EnvironmentOS: Windows11 Home 10.0.26100 Build 26100After Effects: 25.2.2 (Build 2) – UI language en_US Display setup:Monitor (BenQ EW3280U) #1 – UI preview (sRGB)Monitor (CG2420) #2 – Mercury Transmit output (Rec.709) Project / Color settingsColor Engine → “OCIO color managed”OCIO Config → built-in “ACES 1.2”Working Color Space → “ACES – ACEScg”Display Color Space → default “ACES/Raw” (no option for ACES/sRGB)Comp panel View Transform → “ACES/sRGB” Steps to reproduceCreate a new 32-bit float comp with the settings above.Add a color chart or any high-contrast image.Enable Mercury Transmit and send a full-screen preview to Monitor #2.Compare the Comp panel (Monitor #1) wit
hello-first time posting, be gentle. I'm playing around with good old sourceRectAtTime and while I can get the basics for what I need, I'm wondering if it would be possible to find the width of specific lines of text, between carriage returns? in other words, if I have one text layer that is multiple lines (potentially) but I want to have a shape behind each one that actually corresponds to the width of the specific line it is behind, is that possible? my alternative is of course to utilize multiple text layers but I'd rather be able to automate it so a user can input text with carriage returns and it is all straightforward that way.any help would be great, thanks!
I’m using Adobe After Effects 2020 and running into a serious issue with the FilmConvert Nitrate plugin. Whenever I apply the FilmConvert Nitrate effect to any video layer or adjustment layer, the entire preview/composition window immediately turns completely black. The footage becomes invisible as if the layer is not rendering at all.The project itself is still active and responsive:The layer remains visible in the timeline Playback still runs normally Audio continues to work Other effects work fine The footage reappears instantly when I disable or remove the FilmConvert Nitrate effectThe issue only happens when FilmConvert Nitrate is enabled. As soon as I toggle the effect off, the video preview returns to normal with no black screen.
Object Matte also doens’t exist. I have the newest version as well as I just updated it
In AE 2026 is the new unmult effect which works well until you apply it to video which have transparency (alpha channel). Then the result is unacceptable with strong banding and color shift. If I compare result to other unmult effects or workarounds, the result of native new effect is totally different while other methods/plugins does well and practicaly the same output. I can provide the whole project with one frame from the footage, or the whole animation,Sample image attached.I tried change bit depth and colorspace but that does not change anything.
When adding an OBJ to a composition, After Effects automatically warns you with an annoying popup and changes to the Advanced Renderer, but many widely used effects such as Plexus, Particular, Form, Element 3D and Stardust use OBJs using the Basic 3D Renderer. Please add a 3D Preference to not change the renderer upon adding an OBJ to a composition. Having to change the renderer back and get yet another warning dialog every single time is very disruptive to this workflow. Currently neither warning can be dismissed permanently. Warning when adding OBJ Warning when changing back to Basic 3D Renderer
I've looked through many tutorials and they all show the button, for some reason it is not here.
When I tab to ‘Don’t Save’ in the dialog and press Return, the system still brings up the Save As window. However, clicking ‘Don’t Save’ with the mouse behaves as expected.
I think the whole AE app just crashed on my Mac. I'm really hopeless right now.I have tried every option in the Crash Repair Options tab, but none of it seems to work. I have tried uninstalling and reinstalling, restarting the device, cleaning up, clearing the cache, and everything; still, it always shows these two tabs.I have given read/write access to the pref folder as well.Before this, I was doing well with both ver. 26 and 26.2. Plus, I never used third-party plugins in my AE.Please help me out...
Hi, I want to Flip path direction, I want to mirror the flip in opposite direction. I googled. nothing is there. I used plugins. but it causes problem in rigging process. I want it done using inbuilt AE system. Is there any way I can do it inside AE using anythng inbuilt in the software? Thank you. Like I mirror any shape using scale, 100 - 100, I want to flip the path like this. using inbuilt AE system.
-Option to make all keyframes default color of user choice.-Temporarily disabling the keyframe of your choice to access the effect.
What is the reason this “I” like icons are in front of play head. is there any way to hide this? . This icons are smothering keyframes [KF] when play head is over the KF.
Remix with Firefly Community Gallery
Thousands of free creations to fall in love with and remix in Firefly.
Already have an account? Login
No account yet? Create an account
Enter your E-mail address. We'll send you an e-mail with instructions to reset your password.