


















Master Photoshop with the help of our global community.
Recently active
The June 2026 Photoshop update is here, bringing more creative choices and meaningful workflow fixes. What’s newThis release expands creative choice in Generate Image with access to custom‑trained AI models, similar to what you’ve seen with Generative Fill. You can now choose from Adobe and partner models, including Firefly Image 5, Flux.2 Pro, and Gemini, making it easier to explore different visual styles, achieve stronger photorealism, and get results that stick closer to your prompts. Whether you’re experimenting with concepts or polishing production‑ready visuals, having multiple models at hand gives you more control over how your ideas come to life. Bug fixes — thanks to you!Your feedback continues to shape these updates. In this release, we’ve addressed several customer‑reported issues to make everyday workflows more reliable:Canvas size relative mode fields display incorrect default values, reject zero and negative values, and use incorrect increment steps. Add support to renam
A realistic shadow helps your subject feel grounded in the scene. In Photoshop, there are several ways to create one, depending on your subject and lighting. Based on workflows shared by experts in the Photoshop community, we've brought together a few of the most effective techniques here. Choose the method that best fits your workflow. Method 1: Using Generative AIAI can speed up the setup, but you will still get the best results by refining the shadow yourself.Use Select Subject or Remove Background to quickly isolate your object. Use Generative Fill to extend the surface where the shadow will fall. Learn more. You can also use Harmonize. It analyzes the lighting, color, and tone of the scene, and can also generate a matching shadow to help the subject feel more naturally integrated. Learn more. Refine the generated shadow manually using one of the methods above for the most realistic result. Method 2: Drop Shadow EffectThis is the quickest way to add depth and separation to elemen
We've split the Photoshop community into two dedicated spaces so you can find the conversations, tips, and apps that fit how you actually work:🖥️ Photoshop (Desktop & Web)📱 Photoshop Mobile Two focused communities mean more relevant content, better discussions, and an easier way to connect with creators and experts who work the way you do. Were you part of the Photoshop Ecosystem community? That space has been renamed Photoshop and is now home to all Desktop and Web conversations. To jump in, head to the App Communities page and select Photoshop. You'll find desktop-first editing techniques, inspiration, and a place to share your creations. On mobile? Drop into the new Photoshop Mobile community to explore the space and connect with fellow mobile creators. We'd love to hear from you. Does separating Desktop & Web from Mobile make it easier to find what you need? Explore the new spaces and let us know how they're working for you in the comments.
Keeping your Layers panel organized just got a whole lot easier. Layer Cleanup in Photoshop 27.6 and above automatically deletes empty layers and renames layers based on their content, so you can focus on creating, not housekeeping. With a single action from the Layers panel, Photoshop scans your document and removes blank pixel or text layers that tend to pile up during exploration. At the same time, it can intelligently rename layers, giving them clear, descriptive names that reflect what’s inside, so you no longer have to guess what “Layer 37 copy 2” contains. You’re in control of how much cleanup happens. Run it across the entire document for a full reset, or apply it only to selected layers when you want to tidy up as you go. Here is a quick tutorial demonstrating this feature. Why this mattersFaster navigation in complex files Cleaner handoffs when sharing PSDs with teammates Less friction when revisiting older projects Better layer discipline without manual effortWhether you’r
Help us shape this community: What content do you want to see? Whether you're a longtime community member or just found this space, your input will directly shape what we publish here. We want this to be a place you return to, not just when something breaks, but when you want to learn, get inspired, or connect with other creatives. What we’re considering:🚀 Feature Highlights: What’s new in Photoshop, explained with real workflows.📖 How-to Guides: Step-by-step tutorials for common tasks, errors, and workflows.💬 Community Discussions: Polls, questions, and conversations about how you work.🌟 Community Highlights: Spotlighting community members, standout work, and creative journeys. We’d love to hear your thoughts:What type of content do you find most useful when you visit this forum? Is there a Photoshop topic you keep looking up but never find a great answer for here? Would you want to share your own creative workflow or be featured in a community highlight? What kind of projects wou
How to Report a Bug in the Adobe App Community Run into something that’s not working the way it should in Photoshop? Let’s tackle it together. When you share bugs in the Adobe Community, you’re helping product teams see what’s really happening, recreate the issue, and fix things faster. Think of this guide as your sidekick—it’ll walk you through creating a clear, helpful bug report, no technical expertise needed. Before you startBefore jumping in with a new bug report, take a quick look around the community to see if someone’s already spotted the same issue. If you find a matching post, add your vote and feel free to add your experience there instead of starting from scratch. It keeps everything in one place and helps the team connect the dots and solve things faster. Note: Any duplicate posts will be merged into a primary post that you can follow for updates on the issue. What makes a good bug report?A great bug report tells the full story it explains what happened, what you expected
Create a GIF from a series of photos or a video clip Have you ever wanted to create a GIF of your own to post on social media? It really isn't hard!You can easily turn a series of photos or a segment of a video into an animated GIF in a few minutes using Photoshop. Here's how: Create a GIF from a series of photos Step1: Import the still photos you want to use to create a GIF Identify a series of photos that would make a good GIF Open Photoshop and go to File > Scripts > Load Files into Stack Click Browse and locate the photos you want to use (Use the Shift key to select more than one file) and click Open Click OK to import the photos into layers If it is not already open, click on Window > Timeline to open the Timeline panel Click the arrow to the right of the Create Frame Animation button in the middle of the Timeline panel and select Create Frame Animation Now click the Create Frame Animation button to the left of the arrow and it should look something
A question for the tech-smart people on the forum: I'm wondering, for the purists out there, if there's software that isn't using AI? Adobe keep promoting their generative functions but what if some of us don't want them, do we have any alternative (other than film and a darkroom again)?
This doesn’t happen every time, but has happened several times over the past few months on my laptop and desktop (both Macs). When opening PS, I get an error that says PS is damaged. I have to install PS again which erases everything I had saved in PS (workspaces, plugin credentials, tools properties, etc). Super frustrating. Has anyone else experienced this?
Computer 1: Mac Tahoe 26.5.2, PS 27.8.0Computer 2: Mac, Tahoe 26.5.2, PS 27.3.1Computer 3: windows 11, PS 27.4.0 Save As to Original Folder does not work correctly for PDF files. Repro: Ensure “save as to original folder” is checked in preferences->file handling open a pdf file from a folder save as tiff (or anything)Expected: default folder for the save will be the same as original fileActual: default folder is the last folder where PS did a save. PS 27.3.1 does the same thing. Question: How can I get PS to save to the original folder when I’m saving PDF files as TIFF?
I have a question about using generative fill, or any other similar tool to clean up art scans. I have a series of images, oil paintings, that I’ve scanned and need to clean up. They are to be used for posters and such for Hollywood, and there’s a lot of clean up. the paintings are full of lint, dust, hairs and other things stuck to the varnish. I’m using the healing brush tool, but it’s time consuming. I never use Generative fill or any of the AI tools because, well, they never work. So I thought I would try with these. I try and use Generative fill, and type “remove lint, hair and dust”. I’ve tried a few such prompts, but what I get is complete destruction of the image. Any ideas on making this quicker, or any prompts that might work? Remove dust, lint and hair gives me this:
I paid for a student plan using GPay, and the payment also went through. But my plan didn't get activated. I didn't get any invoice or billing information. When I contacted support they said there's no active plan on my account. Please help me. I can share the transaction screenshot if I have to
I am using the touchpad on a new MacBook Pro. The paint tool and eraser tool stay engaged after I have released the tools, sometimes for several seconds. I am also beginning to have release problems with the modifier keys. How can I fix this?
Since my latest update to PS, my brush looks different. It always had a solid curculare line, now it is a jaggy cirsular edge. My settings have not changed. Anyone have this issue or an answer?
Ok, bear with me please as this is the first time I’m asking a question but I’ve been a photoshop user for over 15 years. I am having problems in the last month that after editing a bit several things will happen at once- My alt no longer works (I am usually using it before adding layer mask in order to hide all when I notice it). Any brush type tool (brush, heal, dodge, etc) as well as quick select and lasso, etc will only register the initial place I click and will not drag. Meaning one pin point whatever size and nothing else. IT seems to be only in photoshop, although I did notice in Camera raw none of my sliders are working. I can adjust by clicking or manually entering numbers but I cannot grab and drag it across the sliders which I used to be able to do. That is a constant and doesn’t happen just with the glitch happens. When the glitch happens, restarting photoshop will fix it temporarily. I cannot find one thing that sets it off, after MULTIPLE days of testing things.
There’s a new feature for the Remove Tool in PS 27.7.0, which allows for a local AI model that can be used “offline” and doesn’t require credits. It’s described here: I meet the hardware and software requirements. Tried downloading this component / addon multiple times since yesterday, in PS and in CC App, but after 30-60 minutes the download always interrupts at 48% and it gives the error message “unable to extract files” and “error: code 127”. CC App lacks the basic function of resumable downloads, it always starts from the beginning. I have 630GB of free space, btw, so that’s not the issue. I did all the AI chat suggestions like deleting the Adobe temp folder contents on my root drive, giving full permissions for the folder, adding an exclusion for the folder in Windows 11 defender - none of that helped. Wasted a full hour in the chat with a human (?) or “human” agent that did not understand what the issue is, giving me completely irrelevant suggestions like “this feature does not
I am processing layered Photoshop files using Tools>PhotoShop>Image Processor from Bridge 15.1.4.9. Every image is flattened when opening in Photoshop 27.3.1. This is not desired or intentional. So I am having to run an action that will “Select previous History State” as action 1 in order to un-do this un-requested flattening. Is this intentional on Adobe’s part? If so how about an option for this behavior, if not please correct this behavior.In addition to this unwanted behavior, Tools>PhotoShop>Image Processor is leaving temp files in the target directory when saving .png files using “Export for web” in an action designated for use by Tools>PhotoShop>Image Processor.
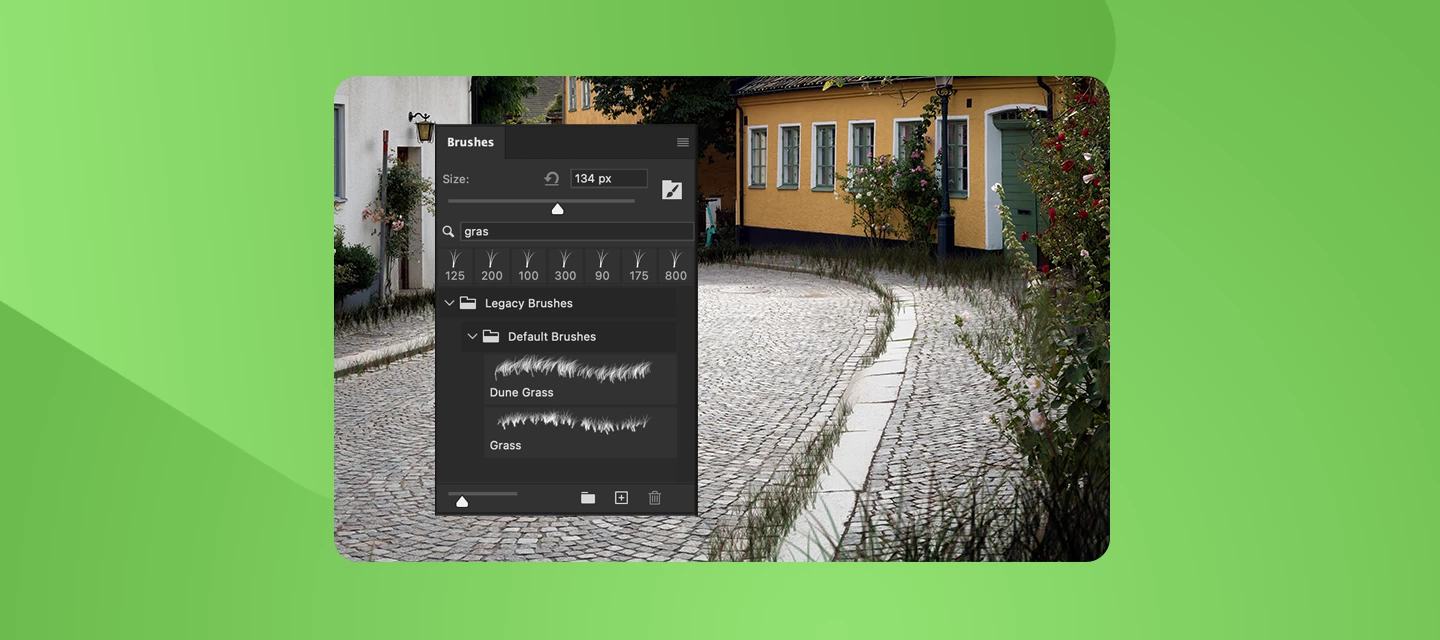
Thanks to all who took part in our previous ‘Jewel in the Crown’ challenge. There were some great creations made from the starter object.This week, we have something different. Our starter image this week is a guest house building in the grounds of Fountains Abbey in Yorkshire, England. The abbey and grounds, which are a UNESCO World Heritage Site, are well worth a visit. These guesthouses were built in the 12th century but fell into ruins in the 16th century when Henry VIII dissolved the monasteries.The challenge for this week is to use your image skills to restore these guesthouses and make them suitable for habitation again.The “rules”:Use the starter image as at least part of your own image entry. Anything goes, as long as it meets the forum rules on decency, copyright, etc. Anyone, and everyone, is welcome to have a go, whether you are a complete beginner or a Photoshop expert. This is not just for our forum “regulars”. The challenge is not limited to Photoshop. Any Adobe software
It has been 4 days that I cannot open/upload to use photoshop web
In Photoshop Beta sind die Bilder viel heller als in Photoshop 26. Warum?
Dialogue box stops appearing after using PS for 15-30 minutes. The only fix is to restart the application then restart the computer as restarting the application only works for so long. I am currently running PS 27.8 on a Mac with Tahoe 26.4
Image is significantly lighter on Photoshop beta then when exported. When viewing my file on photoshop beta, it looks like as if I placed a 50% white layer over the whole image. This is happening to multiple files. Not every file though. Does not happen with regular photoshop. I believe it’s some kind of view change from a hot key but I am not sure. Please help. How it looks on photoshop betaHow it exports as a png.
The CPU-Z screenshot in the old post was incorrect; the AI also explained that CPU-Z doesn't always display everything correctly. The CPU-Z screenshot in the old post was incorrect; the AI also explained that CPU-Z doesn't always display everything correctly. https://esp-tech.myshopify.com/products/amd-ryzen%E2%84%A2-7-8700f?srsltid=AfmBOopv-drGSZdwZ9EiYTku7tZgPin83rXtqFj71bbKmVFPydWwzy_X&shpxid=31301322-3706-4cc0-a7c2-0140c5187e9a&variant=55200585220430&fbclid=IwZXh0bgNhZW0CMTAAYnJpZBExbzJBZkg4ZlBYTjVaZzNJQXNydGMGYXBwX2lkEDIyMjAzOTE3ODgyMDA4OTIAAR7iR9WHXQGclmhxCoSccx_lEBERN7hEXCNrYVHKre2guJlO9MBhx8zAZtVOgQ_aem_YTv7XDi_BFLfxFoEqQBNuw
I am using the latest update of Photoshop. All of a sudden when I open a perfectly exposed RAW file in Bridge and double click it, the file opens in camera RAW andit is completely washed out. If I go back to “Photoshop 2026 v.. 27.80 the files open normally. I have spent two days trying to trouble shoot this problem.
So ive been having this issue for the past 3 months with the Brush Tool ( Flow ) that isnt working properly. This is how it should work like everybody knows.. the scattering isnt there. I have a video example to show whats going on with my brush tool, instead of doing what it supposed to do, it lowers the opacity.. which is kinda weird.. here is my video of the bug
Remix with Firefly Community Gallery
Thousands of free creations to fall in love with and remix in Firefly.
Already have an account? Login
No account yet? Create an account
Enter your E-mail address. We'll send you an e-mail with instructions to reset your password.