













Master Photoshop with the help of our global community.
Recently active
The July 2026 update to Adobe Photoshop (version 27.9.1) introduces faster creative exploration, smarter AI-assisted image generation, and improved productivity tools to help designers, photographers, and creators work more efficiently and stay in flow. What’s NewPhotoshop 27.9.1 introduces several enhancements designed to streamline creativity, improve productivity, and make everyday tasks easier. You can now send layers directly to Firefly Boards for faster ideation and creative exploration, making it simple to compare concepts and develop new directions from existing Photoshop content. Editing workflows are now more efficient thanks to expanded Remove tool controls in the Contextual Task Bar, giving you quick access to options such as Find distractions, Add to, Subtract from, and Remove after each stroke without interrupting your workflow.Font management has become more reliable with the ability to save and restore your favorite fonts, ensuring your curated font lists remain availab
A realistic shadow helps your subject feel grounded in the scene. In Photoshop, there are several ways to create one, depending on your subject and lighting. Based on workflows shared by experts in the Photoshop community, we've brought together a few of the most effective techniques here. Choose the method that best fits your workflow. Method 1: Using Generative AIAI can speed up the setup, but you will still get the best results by refining the shadow yourself.Use Select Subject or Remove Background to quickly isolate your object. Use Generative Fill to extend the surface where the shadow will fall. Learn more. You can also use Harmonize. It analyzes the lighting, color, and tone of the scene, and can also generate a matching shadow to help the subject feel more naturally integrated. Learn more. Refine the generated shadow manually using one of the methods above for the most realistic result. Method 2: Drop Shadow EffectThis is the quickest way to add depth and separation to elemen
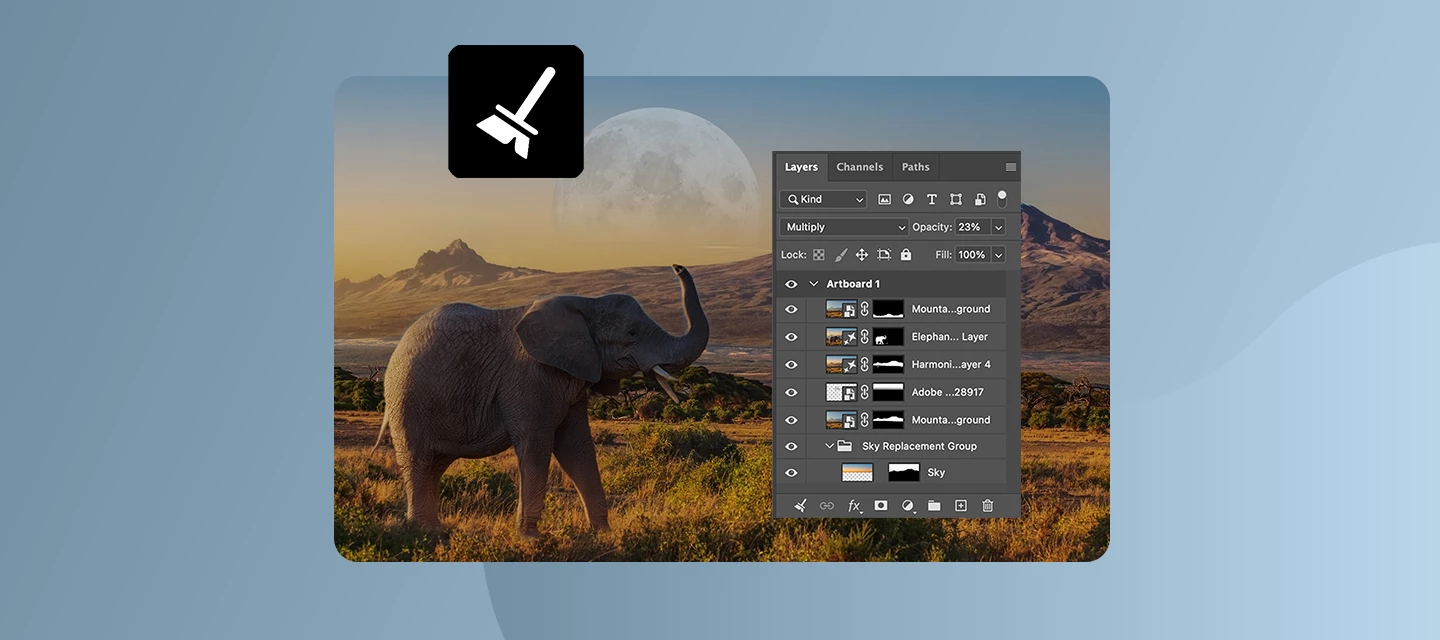
Keeping your Layers panel organized just got a whole lot easier. Layer Cleanup in Photoshop 27.6 and above automatically deletes empty layers and renames layers based on their content, so you can focus on creating, not housekeeping. With a single action from the Layers panel, Photoshop scans your document and removes blank pixel or text layers that tend to pile up during exploration. At the same time, it can intelligently rename layers, giving them clear, descriptive names that reflect what’s inside, so you no longer have to guess what “Layer 37 copy 2” contains. You’re in control of how much cleanup happens. Run it across the entire document for a full reset, or apply it only to selected layers when you want to tidy up as you go. Here is a quick tutorial demonstrating this feature. Why this mattersFaster navigation in complex files Cleaner handoffs when sharing PSDs with teammates Less friction when revisiting older projects Better layer discipline without manual effortWhether you’r
Help us shape this community: What content do you want to see? Whether you're a longtime community member or just found this space, your input will directly shape what we publish here. We want this to be a place you return to, not just when something breaks, but when you want to learn, get inspired, or connect with other creatives. What we’re considering:🚀 Feature Highlights: What’s new in Photoshop, explained with real workflows.📖 How-to Guides: Step-by-step tutorials for common tasks, errors, and workflows.💬 Community Discussions: Polls, questions, and conversations about how you work.🌟 Community Highlights: Spotlighting community members, standout work, and creative journeys. We’d love to hear your thoughts:What type of content do you find most useful when you visit this forum? Is there a Photoshop topic you keep looking up but never find a great answer for here? Would you want to share your own creative workflow or be featured in a community highlight? What kind of projects wou
How to Report a Bug in the Adobe App Community Run into something that’s not working the way it should in Photoshop? Let’s tackle it together. When you share bugs in the Adobe Community, you’re helping product teams see what’s really happening, recreate the issue, and fix things faster. Think of this guide as your sidekick—it’ll walk you through creating a clear, helpful bug report, no technical expertise needed. Before you startBefore jumping in with a new bug report, take a quick look around the community to see if someone’s already spotted the same issue. If you find a matching post, add your vote and feel free to add your experience there instead of starting from scratch. It keeps everything in one place and helps the team connect the dots and solve things faster. Note: Any duplicate posts will be merged into a primary post that you can follow for updates on the issue. What makes a good bug report?A great bug report tells the full story it explains what happened, what you expected
Create a GIF from a series of photos or a video clip Have you ever wanted to create a GIF of your own to post on social media? It really isn't hard!You can easily turn a series of photos or a segment of a video into an animated GIF in a few minutes using Photoshop. Here's how: Create a GIF from a series of photos Step1: Import the still photos you want to use to create a GIF Identify a series of photos that would make a good GIF Open Photoshop and go to File > Scripts > Load Files into Stack Click Browse and locate the photos you want to use (Use the Shift key to select more than one file) and click Open Click OK to import the photos into layers If it is not already open, click on Window > Timeline to open the Timeline panel Click the arrow to the right of the Create Frame Animation button in the middle of the Timeline panel and select Create Frame Animation Now click the Create Frame Animation button to the left of the arrow and it should look something
Remove tool was working great last week, I've come to use it today and it's extremely slow! It's taking ages to load on removing the littlest things on an image, for example a little bit of dust on a bottle. Please help. I have uninstalled and reinstalled adobe photoshop. Everything is up to date, Photoshop, MacBook. Now what do I do??
This seems to be a new recent flaw in the Photoshop desktop application where it doesn’t display or even process colors to match those in the ipad Photoshop. Colors on the desktop Photoshop are duller, darker, and even create a grey fuzzy outline around the blended edge of a layer. This gets even worse when I have the Ipad color profile on RGB, then bring it to the desktop Photoshop also in RGB. It seems less bad when going from HSB sliders on the ipad into RGB desktop photoshop, but still bad enough that I can’t continue like this. Please, please help!
The error is :- Could not open ???.CR3 because of a program error.
Recent build 27.9.x seems to have completely broken resizing from four corners which I use all the time. It just moves the window now. Also, resize zoomed window also broken. Note that this is in non-Application Frame mode.
Hello,I am experiencing a serious and ongoing problem with Firefly Image 5 and Generative Fill in Photoshop.I am using Photoshop version 27.9.1 on Windows 11.The problem started on Friday, August 21, 2026. Before that, Firefly Image 5 worked normally for me.Since then, generation in Photoshop has become very unstable. Sometimes it generates successfully once or a few times, but then it suddenly stops working.I receive errors such as: “Delays due to high demand. Please try again later.” “There is no connection to the server. Please check your internet connection.” My internet connection is stable, and other online services work normally.Today, August 24, I started using Generative Fill at approximately 9:00 AM. The first three generations worked normally, but immediately after that the same problem returned. Further generations started failing with the “high demand” message and sometimes server connection errors.The problem is not related to one specific Photoshop document. I also tes
After updating to Photoshop 27.9.1, the Options bar across the top of the UI no longer works. If I create a gradient, if I make any changes to it via the Options bar, nothing happens. I can’t change Gradient presets, change the the type of gradient (linear, radial, etc), Reverse, or method. These all work in the Properties panel, however, and I have to change them from there. Steps to repeat this bug:Apply a gradient Go to the Options bar at the top of the page with the gradient layer selected and make a change to the gradient or click reverse. Nothing happens. Swapping colors also does not work. Expected Result: Gradient will change by changing settings in the Options bar.Actual Result: The options change in the options bar but nothing happens to the gradient.My computer: Mac Studio 2023, Apple M2 Max, running Tahoe 26.6.2Installed Version of Photoshop: Photoshop 27.9.1This appears to be a bug as it is happening since the last update. Thank you.
I’m working on a before-and-after image for a website and want both images to look clean, balanced, and visually professional. I’d like to keep the original photos natural while making the comparison easy to understand.Would you recommend using a split layout, slider-style effect, or another technique? And are there any Photoshop tools or workflow tips you’d suggest for getting the best result?
I'm working on a web page mock-up and between versions I'm having to update the artboard/canvas size, yet whenever I need to make the change, the canvas size gets larger. For instance, I started out with the dimensions of 1200 x 1800 and needed to change it to 1200 x 2100, and when I did that it updated the artboard to the correct dimensions but the canvas size to 2200 x 2274. I left it for a day, restarted Photoshop and checked for an update, and now the canvas size has updated to 1200 x 2274 (previously 2200 x 2274 when I left it) and again won't change. The artboard is displaying the correct dimensions, but when I export the layer comps the canvas size is about twice the size of the actual artboard, no matter how many times I go in and manually change it. Does anyone have any advice on how to change this?
Hello everyone, my name is Leo. I am from Chengdu, China. I have encountered a considerable predicament. I intend to purchase the latest iteration of Photoshop via the official platform for self‑study; nevertheless, I am denied access to the official up‑to‑date tutorials as well as practical operational resources. For Chinese citizens, access to overseas servers is not permitted under domestic regulated internet infrastructure. Unauthorised deployment or procurement of circumvention‑oriented technical services constitutes a violation of relevant laws and regulations. Consequently, I am precluded from viewing and studying the latest official tutorials released by Adobe, which leaves me deeply distressed. I earnestly solicit assistance from instructors, fellow community members and academic practitioners. Could anyone advise viable solutions to this dilemma? I anticipate feedback from all educators, peers and specialists. Thank you, and I wish everyone well‑being in daily life.
Hi everyone,I'm experiencing a very specific issue with Photoshop Generative Fill (Firefly Image 5). It constantly throws the error "The service is not responding" whenever I try to use it.This issue started immediately after my Wi-Fi was repaired.Important Detail / Behavior: Whenever I perform any troubleshooting step (like flushing DNS or signing out/in), Generative Fill will work ONCE for the very first prompt, but on the second attempt, it fails again with "The service is not responding".Here is what I have already tried so far: Flushed DNS cache (ipconfig /flushdns) Signed out and signed back in via Creative Cloud Desktop App Checked and temporarily disabled Firewall/Antivirus Ensured Photoshop and Creative Cloud Desktop are fully updated Inspected the hosts file to ensure no Adobe endpoints are blocked Switched to Google Public DNS (8.8.8.8 / 8.8.4.4) It seems like the initial handshake/token validation succeeds, but subsequent requests or response streams get dropped o
So on Friday 21 Aug, I set up some actions which include changing the canvas size and then cropping 4-5, resizing canvas again and cropping 4-3. Updated photoshop this morning and the crops were all off centre. Eventually reinstalled an older version of PS and it worked again.
Bonjour,Cela fait plusieurs jours que je me bat pour réinstaller Photoshop et première 2022 , que j’ai acheté, et j’ai en permanence le code erreur 106, j’’ai tout tenté ce que vous proposez sur votre site , même AdobeCreativeCloudCleanerTool, mais rien n’y fait.Je ne suis pas du tout informaticien et ne connais malheureusement pas l’anglais, je vous supplie de mevenir en aide afin de pouvoir récupérer mon logiciel, j’ai installé adobe Acrobat, voir si des fois cela déclencherai une installation mais non, rien n’y fait. Je vous remercie par avance
I like to think AI as a collaborator in my creative process. I draw the original sketch design then ask AI for input on rendering art style ideas. Adobe Firefly is a great tool to render different ideas quickly Adobe PHotoshop to refine the illustration idea by generating edits plus adjust any extra elements easily. This process is a timesaver. Then I go back in and redraw the character in Adobe Fresco to edit the details to match my artstyle. I call this process my AI sandwich workflow and it helps me save time and generate within seconds to move on to the next steps. It's like a shortcut! Now I can move on to the next steps with my client work whereas before, I had to manually test different art styles and render artwork over and over again until the client saw something that they liked. I want to hear about your process and how do you reconcile the newest technologies with your talents in today's new AI world?! Example generated in Fireflymade with FireflyGenerative Expand in Photos
Example: If you wanted to align duplicates of a layer/smart object around a circular orbit,you currently have to do what is shown in the screenshot.CTRL+T → change transform location → rotate → confirmDuplicate LayerCTRL+T → change transform location → rotate → confirmDuplicate LayerCTRL+T → change transform location → rotate → confirmetc… Layer rotation around a custom anchor point.Problem:After confirmation, the transform origin resets back to the center of its specific layer. Repeats of the action require a tedious setup every time.Feature request:Checkbox for “Persistent Anchor Location”, or just “Persistent Anchor”.Something like that.How should it work?The user checks the box located in the transform control bar. When moving the anchor point, it’s relative location is saved to the layer, it should not reset to the center of the layer after exiting the transform tool. Thus when selecting that layer and entering the transform tool again, the transform anchor should be where you’ve
When using the Photoshop Line Tool with an arrowhead, the rectangular line shaft can protrude through the sloping sides of the arrowhead if a small arrowhead width is used. This creates two small but clearly visible spikes on either side of the arrowhead.Photoshop version:27.9.1OS:Windows 11Steps to reproduce:Create a new document. Select the Line Tool in Shape mode. Make sure both Fill and Stroke are enabled. Set the Stroke width for example to 34 px. Enable an arrowhead at the end of the line. Set the arrowhead width to 3 px and draw an arrow. Zoom in on the transition between the shaft and the arrowhead. At this point, the two bottom corners of the rectangular shaft protrude through the diagonal sides of the arrowhead.Changing only the arrowhead width from 3 px to 5 px makes the artifacts disappear.Expected result:The shaft should be fully contained within the arrowhead, and the arrowhead should have clean, uninterrupted diagonal edges regardless of the selected arrowhead width.Actu
I am trying to user Adobe Photoshop API to create PSD with groups, i.e. https://developer.adobe.com/firefly-services/docs/photoshop/api/photoshop-v2/, to create a PSD file programmatically. I tried to create a simple PSD with groups of layers. But even though I think I followed the API schema, I still get “An unknown error occurred” error response. For example a payload like below trying to create a PSD with one group that has 2 image layers in it. { "image": { "source": { "url": "<GET_BACKGROUND>" } }, "edits": { "layers": [ { "name": "group1", "type": "group_layer", "operation": { "type": "add", "placement": { "type": "top" } }, "children": [ { "name": "source", "type": "layer", "operation": { "type": "add", "placement": { "type": "top" } }, "image": { "source": { "url": "<Image1>" } } }, { "name": "add", "type": "layer", "operation": { "type": "add", "placement": { "type": "top" } },
Hi,Expanding the image while using the Crop Tool (the color in this case, about a solid gray) using Content Aware Fill - makes wrong color, in my case after expanding a lighter frame at the previous image edge borders and a lighter gray color is used for the expanded areas. Is this a known bug? I’ve downgraded to 27.8, no issues there.Thank you,Patrik
Simply went to open Photoshop. Intro screen came up and little blue wheel was spinning but then it just stopped, no messages, etc. Went through various potential solutions on Adobe and on the internet. Nothing worked. Finally uninstalled and reinstalled through Creative Cloud. Had put it in “Run as Administrator” in trying to solve the problem. Changed that and Photoshop ran once. When attempting to reopen it again, it would not run. Lightroom works. The Beta version of PS works.
Hello,I have encountered what appears to be a GPU-related rendering bug when converting RGB images to CMYK in Photoshop.SystemPhotoshop 27.8 macOS Tahoe 26.5.2 Mac Studio M2 Ultra Apple Silicon GPUProblemWhenever GPU acceleration is enabled, converting an RGB image to CMYK produces severe black rendering artifacts across the image. The artifacts appear immediately after the color conversion and make the document unusable.The issue occurs with multiple images and is fully reproducible on my system.Steps to ReproduceOpen an RGB image. Make sure Use Graphics Processor is enabled under Preferences > Performance. Convert the document to CMYK (either Image > Mode > CMYK Color or Edit > Convert to Profile). Large black artifacts appear throughout the image.Expected ResultThe RGB image should convert normally to CMYK without any visual corruption.Actual ResultThe converted image contains large black rendering artifacts that were not present in the original RGB document.WorkaroundDi
Remix with Firefly Community Gallery
Thousands of free creations to fall in love with and remix in Firefly.
Already have an account? Login
No account yet? Create an account
Enter your E-mail address. We'll send you an e-mail with instructions to reset your password.